Valentine Rice Krispie Treats
This post may contain affiliate links. As an Amazon Associate, I earn from qualifying purchases.

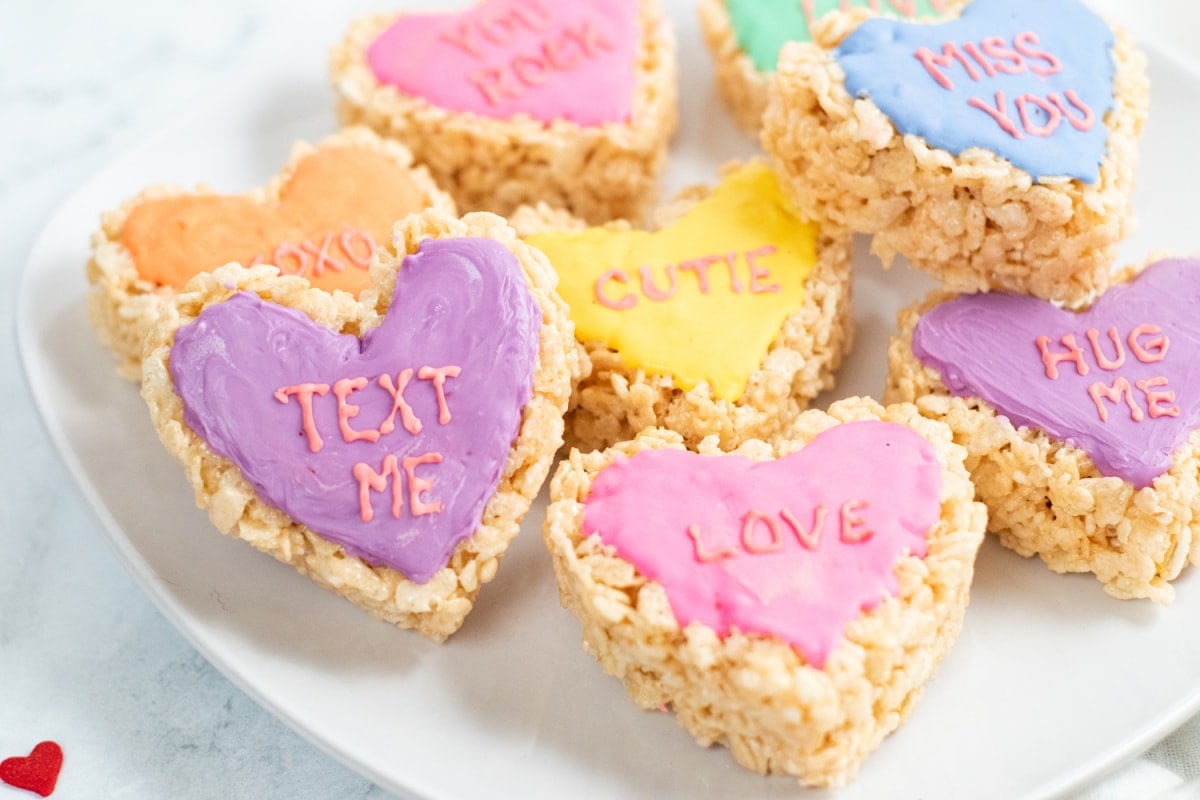
These adorable Valentine Rice Krispie Treats take a classic recipe and turn them into cute little conversation hearts. They’re super fun to make, taste delicious and are great for school parties or a special Valentine’s Day snack.

Who doesn’t just love a classic rice krispie treat? They are sweet, crunchy, gooey and are absolutely perfect for everything from holiday celebrations to a lunch box treat for the kids.
This recipe takes those classic treats to a whole new level of cuteness when they are formed into Valentine heart shapes, topped with a colorful chocolate coating and a sweet message is written on each one. What could possibly say Happy Valentine’s Day more than that?
Why We Love this Recipe
- Fun for the kids: It’s always a bonus when there are fun recipes the kids can help make. Of course, don’t be surprised if there’s a whole lot of sampling going on while creating these treats! The kids just can’t resist, and the truth is, I can’t either!
- Homemade treats for the win: When it comes to school parties, we enjoy taking just a little extra effort to make homemade snacks. So, the easier the better when you have a good many to make. These rice cereal treats are easy to make, and they honestly taste so much better than the store-bought kind.
- Colorful treats that stand out: These heart shaped treats are so pretty. Everyone will immediately recognize the conversation heart theme when they see the pretty colors and classic sayings written on each one.
What’s Needed for Rice Krispie Hearts
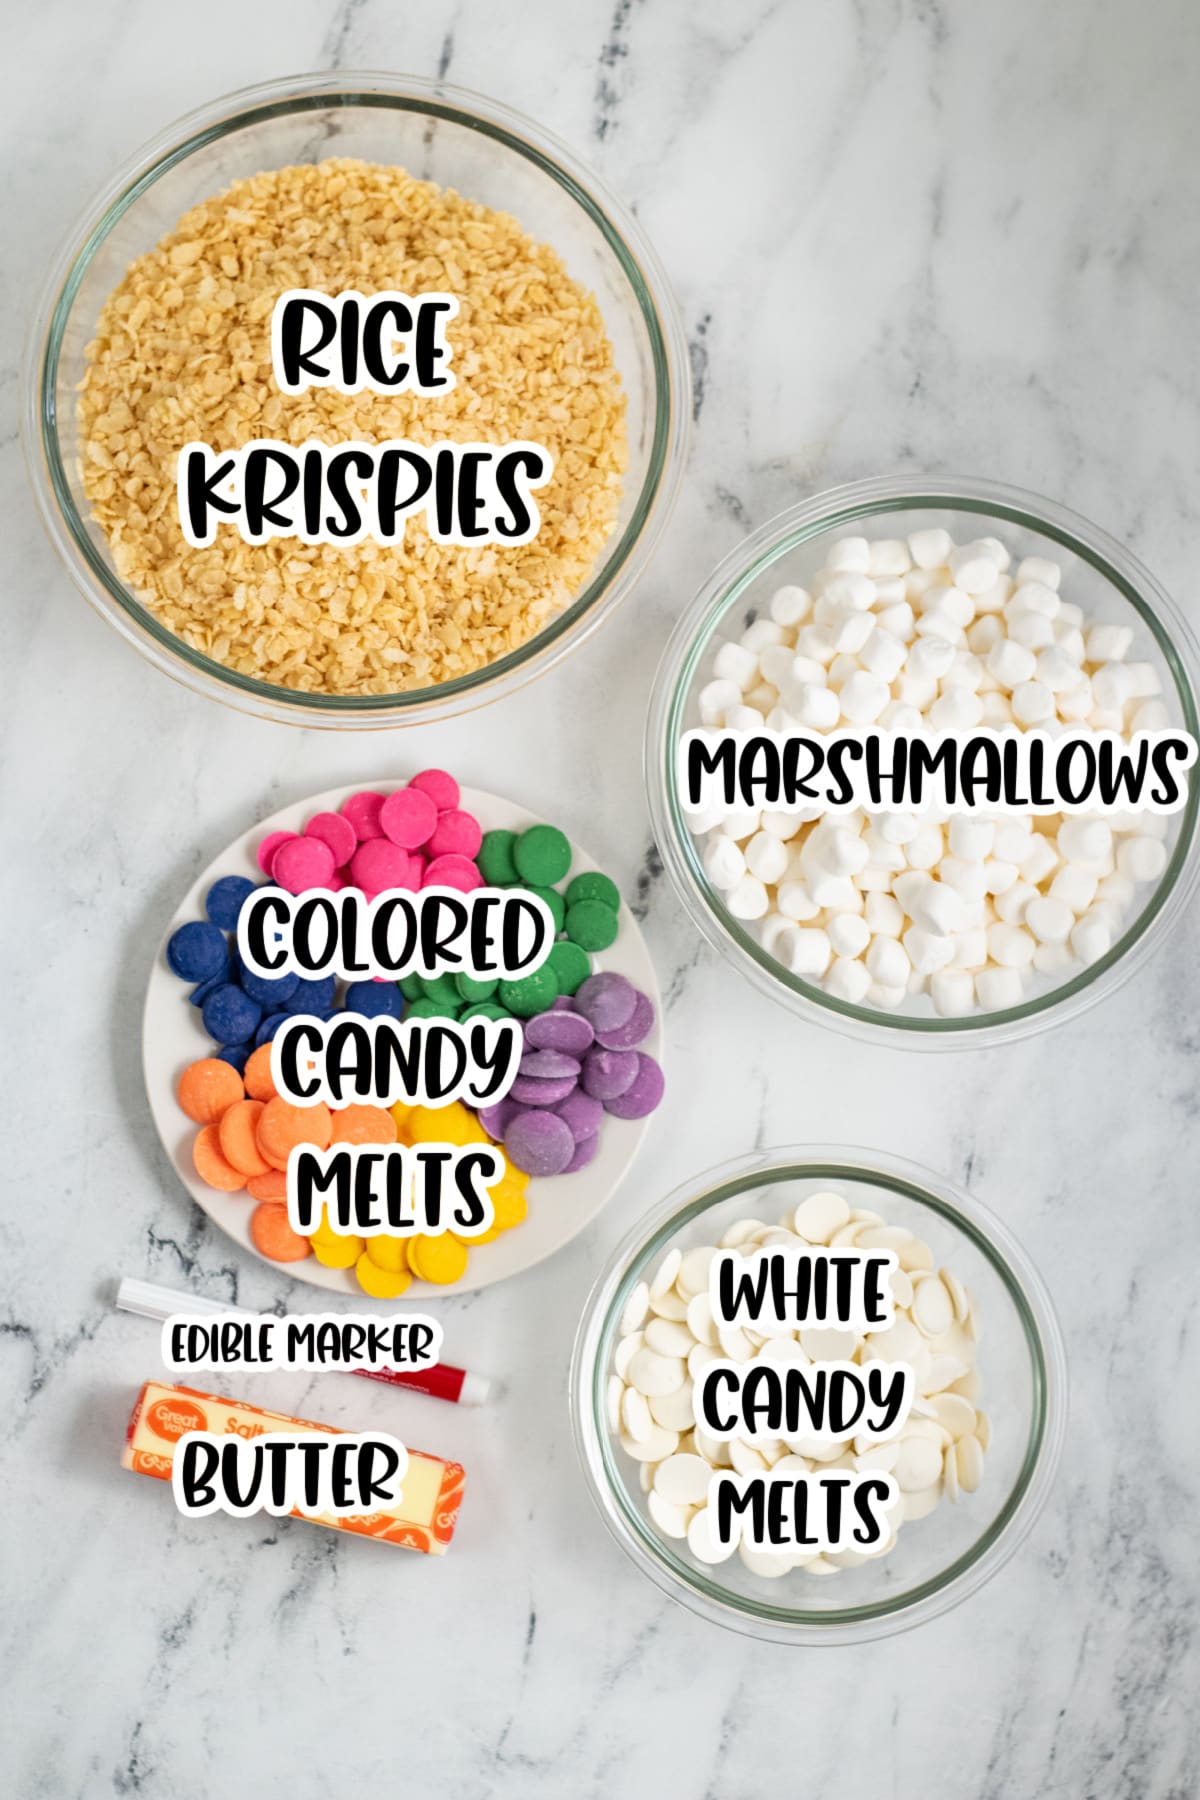
- Mini Marshmallows (you can use the jumbo ones as well)
- Rice Krispie Cereal
- Butter
- Colored Candy Melts – White, Pink, Purple, Blue, Green, Yellow & Orange
- Shortening or Wilton EZ Thin Dipping Aid (optional)
- Edible Marker (you can find them at Walmart, Amazon, or baking supply stores)
- Piping Bags
- 3″ Heart Shaped Cookie Cutter
How to Make Valentine Rice Krispie Treats
To Make the Rice Krispie Treats
Step 1: Place marshmallows and butter in a large pot or dutch oven.
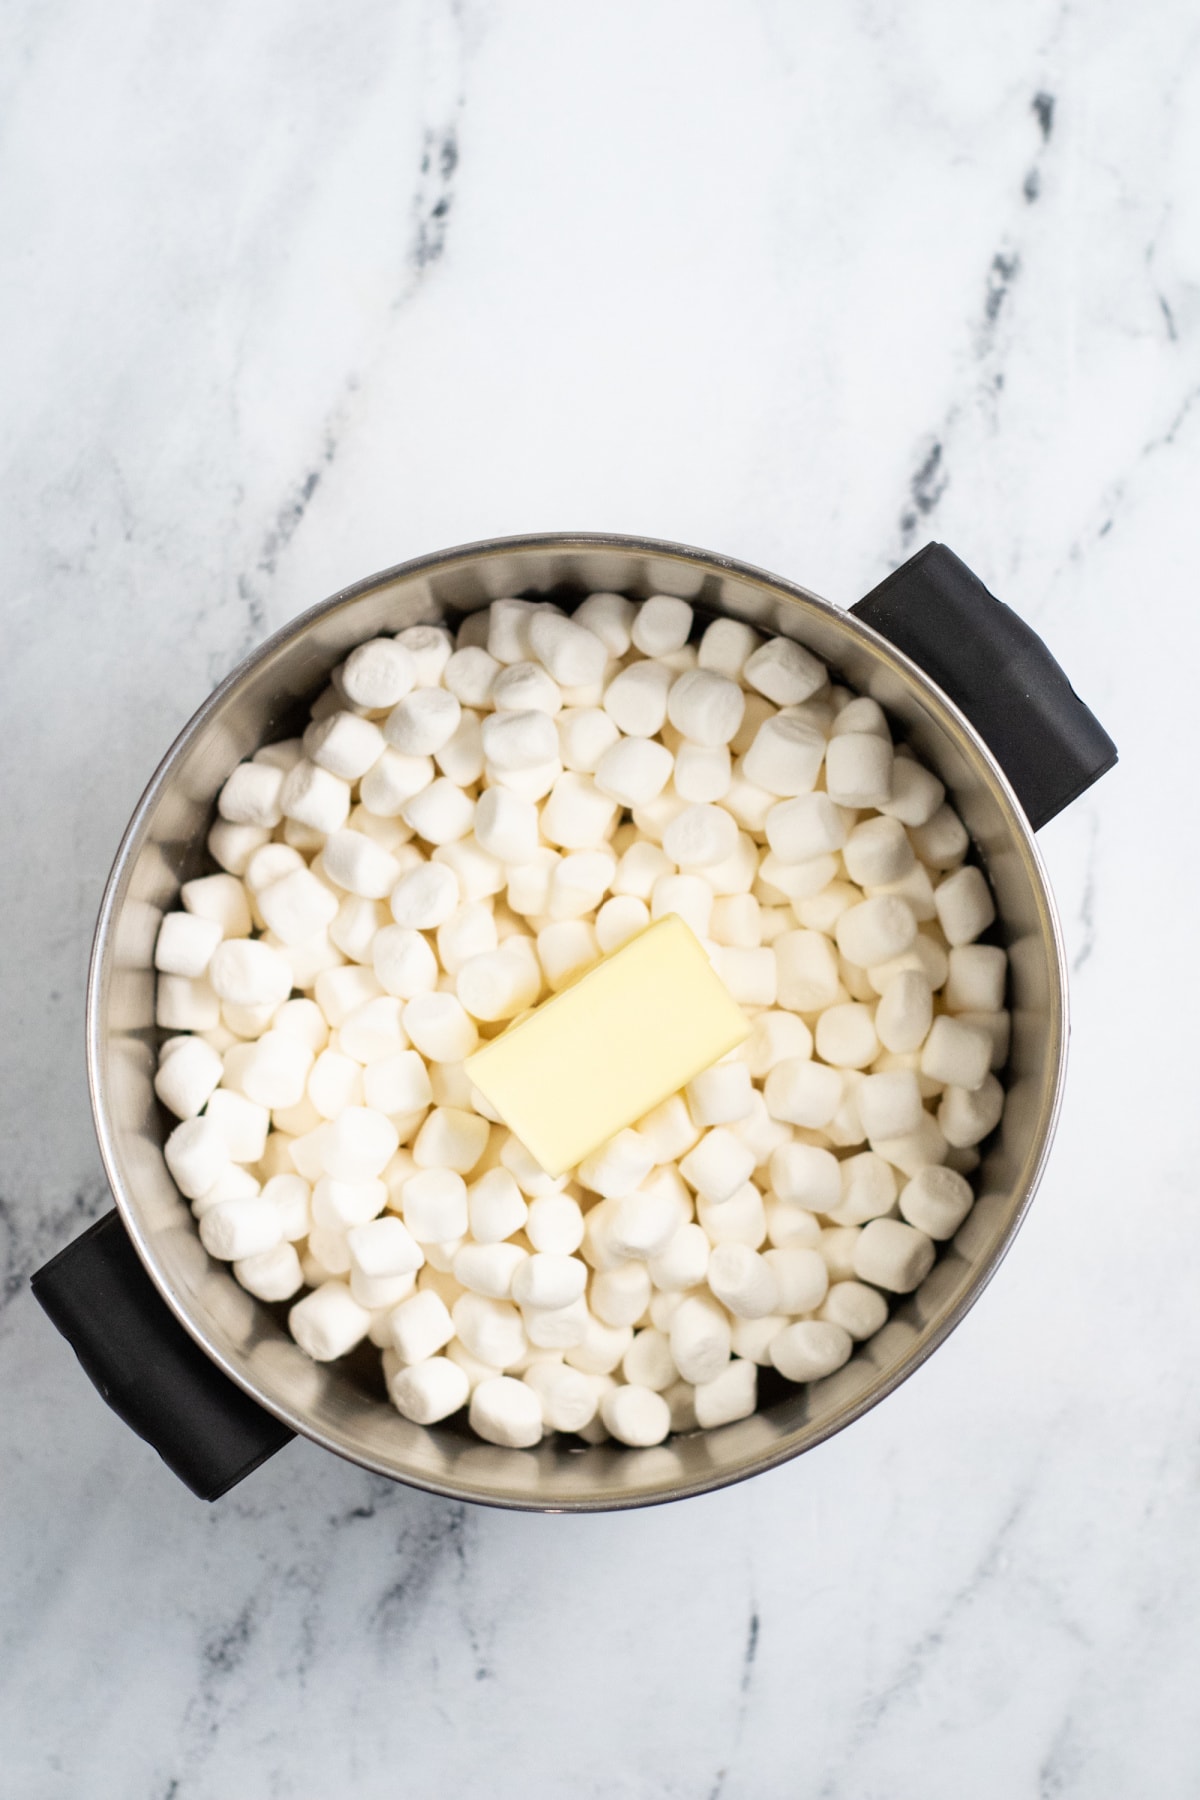
Step 2: Heat on medium/low heat, stirring frequently until completely melted and smooth.
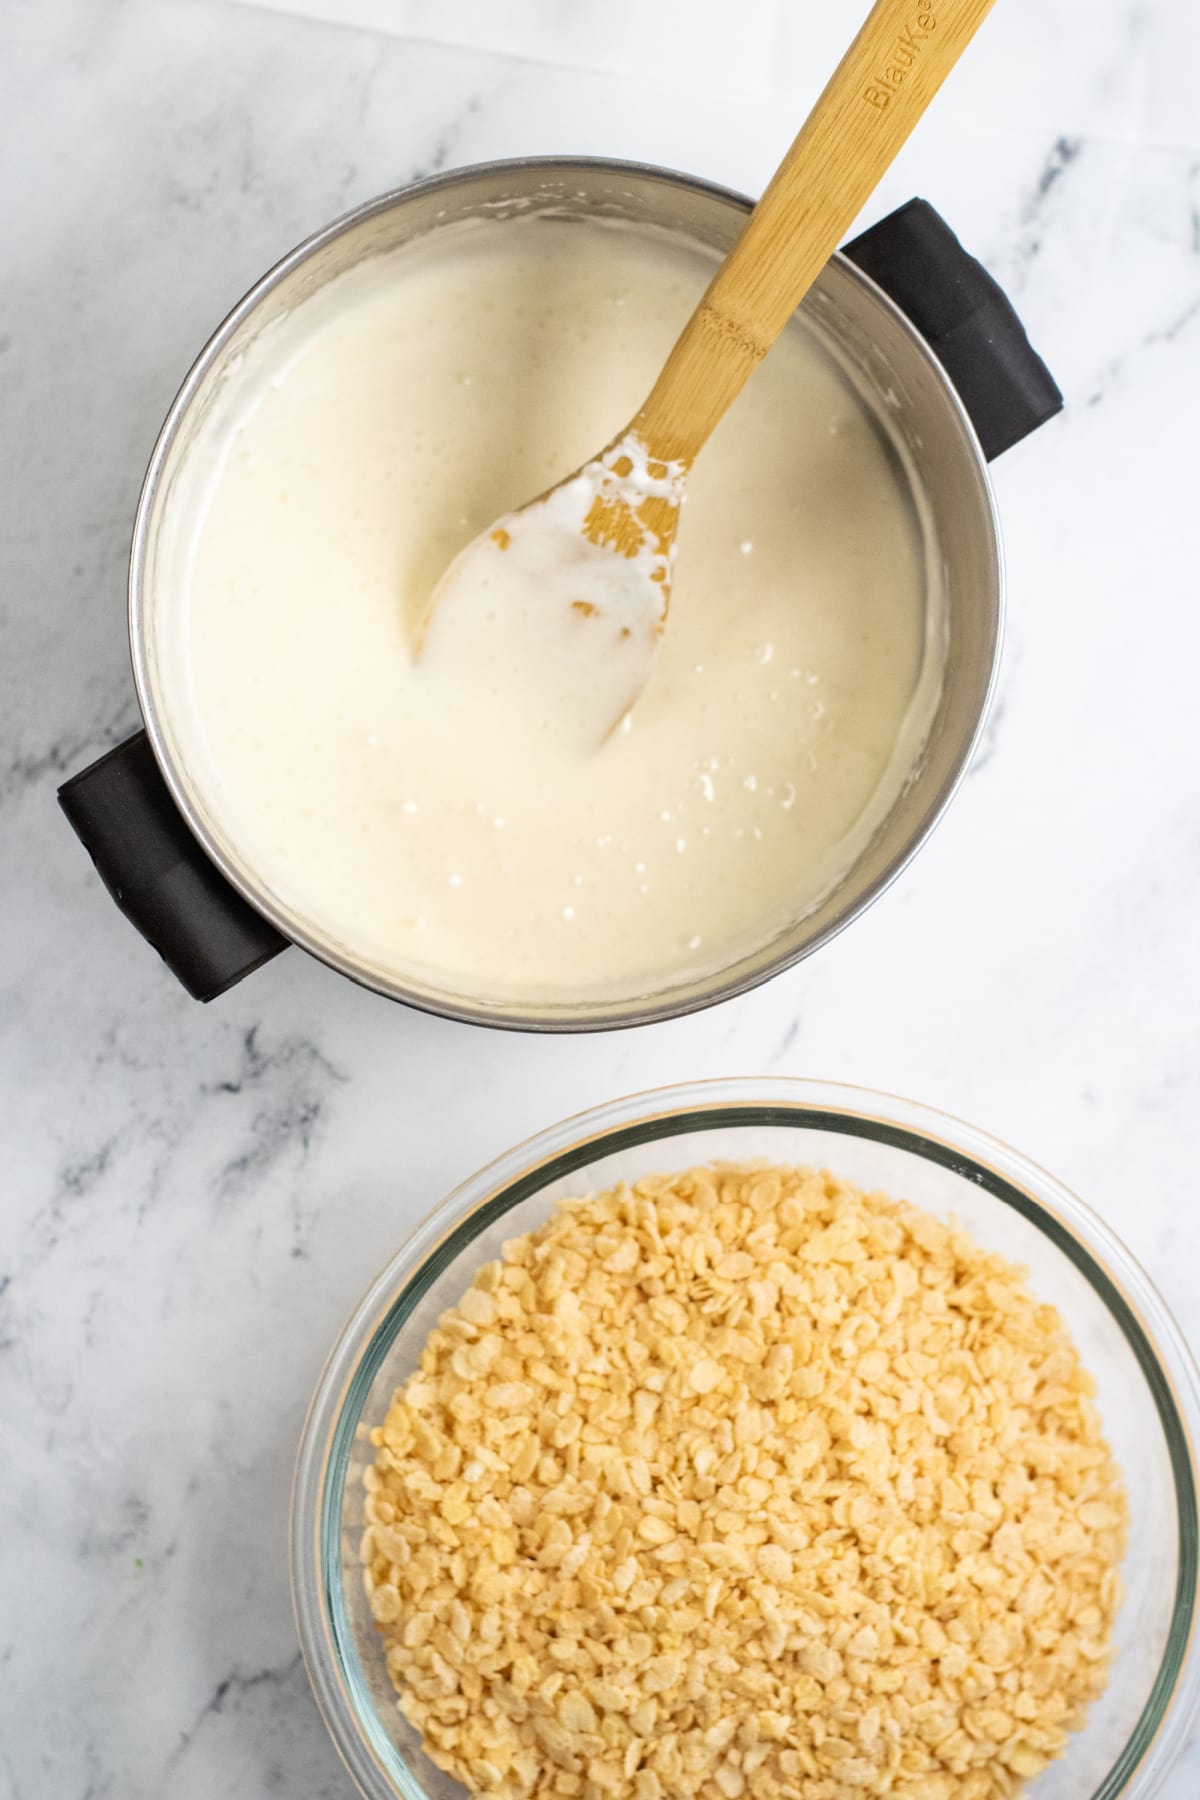
Step 3: Remove from heat and pour Rice Krispies into the melted marshmallows. Mix gently until the cereal is completely coated with the marshmallow mixture.
To Make the Heart Shapes
Cookie Cutter Option:
Step 1: Press the cereal mixture in an even layer into a parchment lined 13×9 inch baking dish or other rimmed large pan and allow to cool completely.
Step 2: Once cooled, remove the treats from the pan and cut out hearts with a buttered 3″ cookie cutter.
Step 3: Set treats to the side to be decorated.

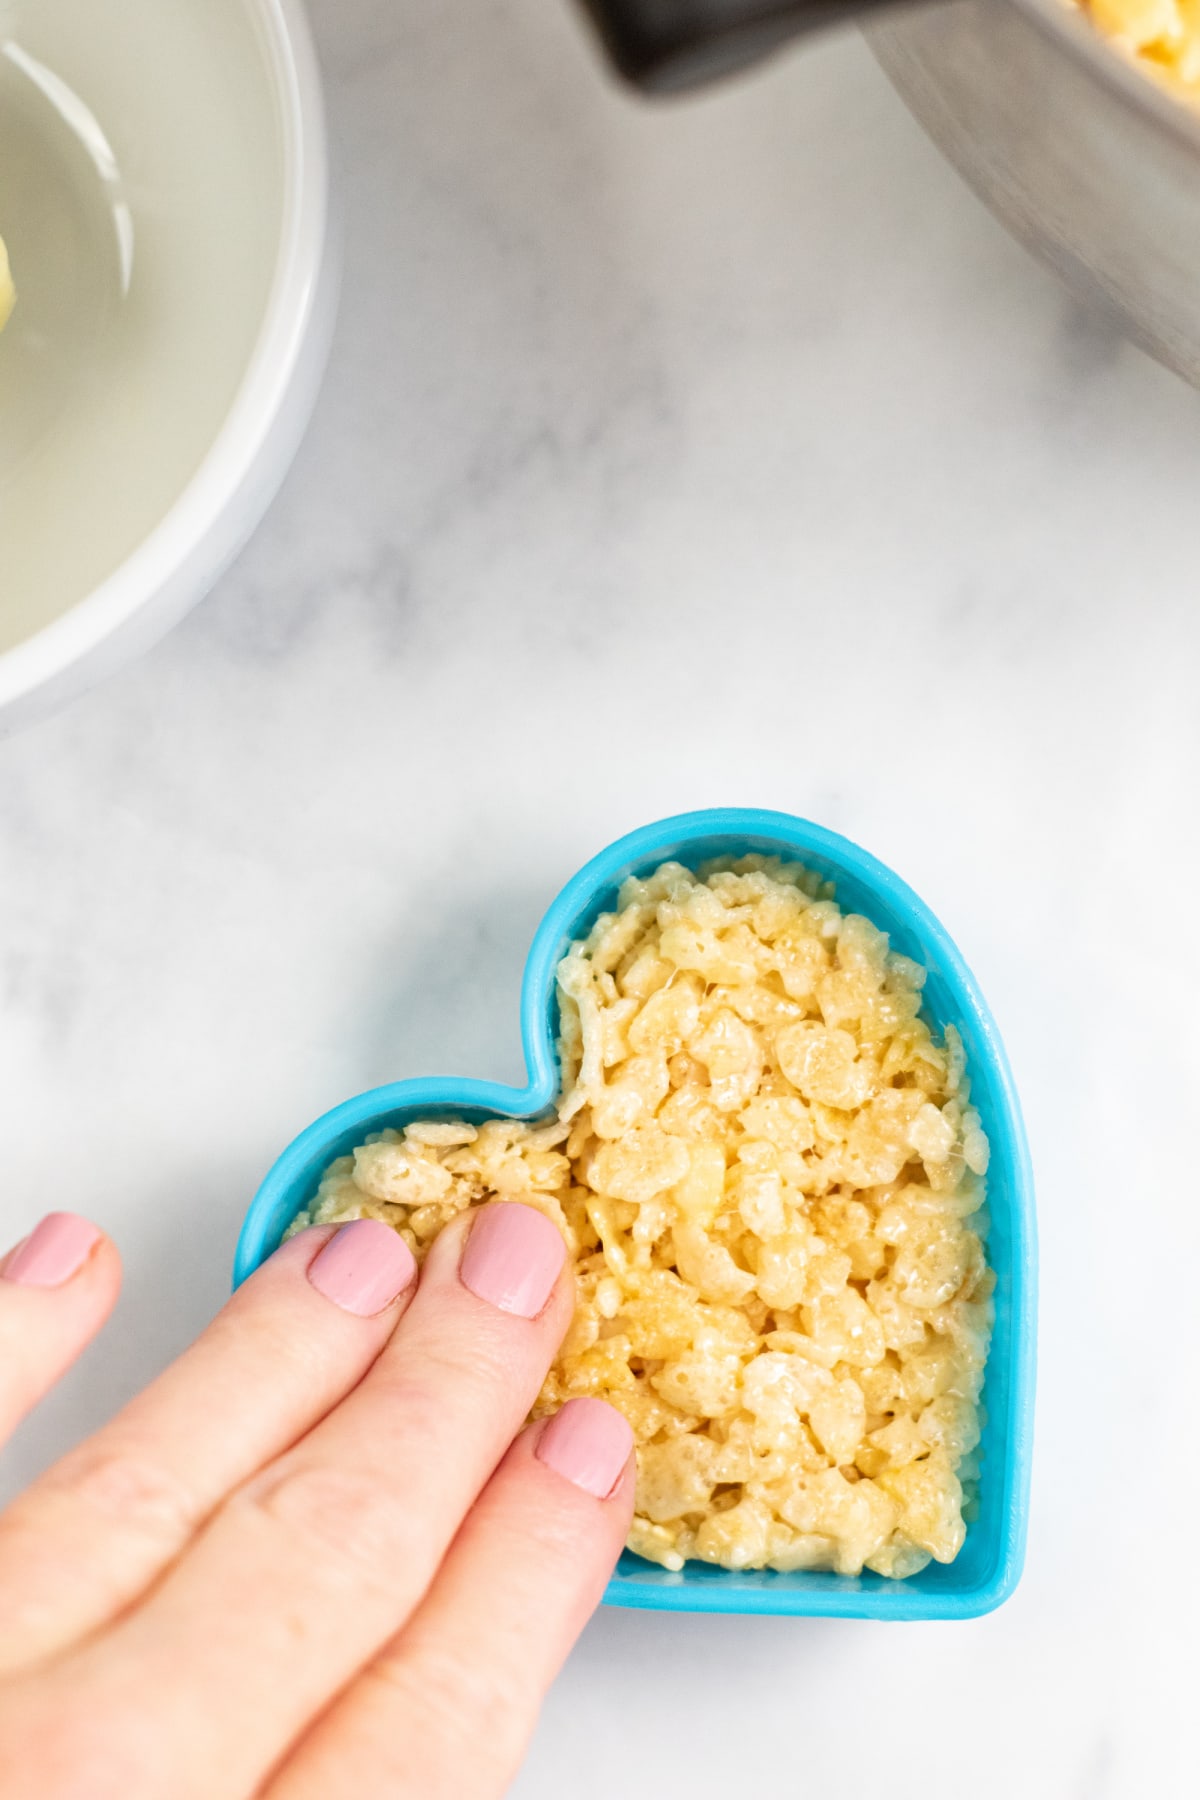
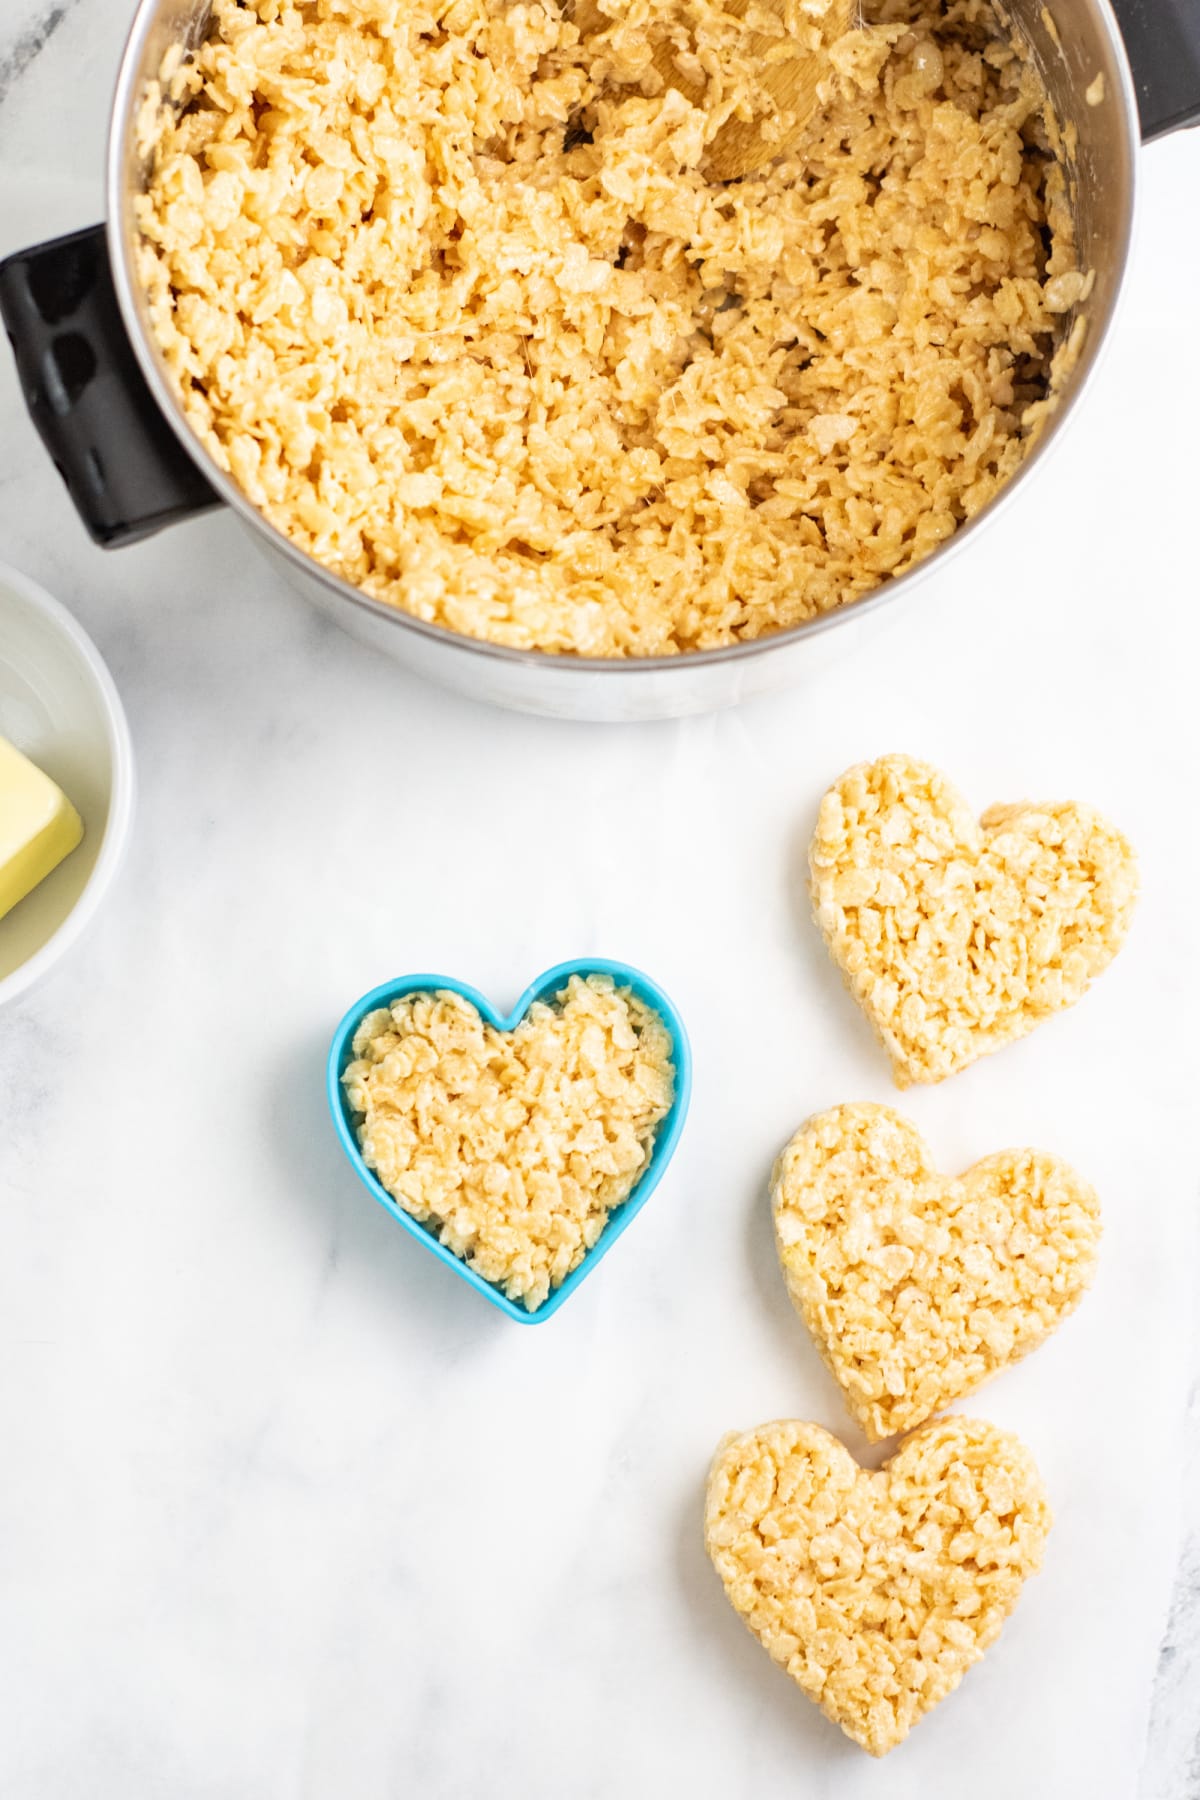
Free Style Option: (pictured)
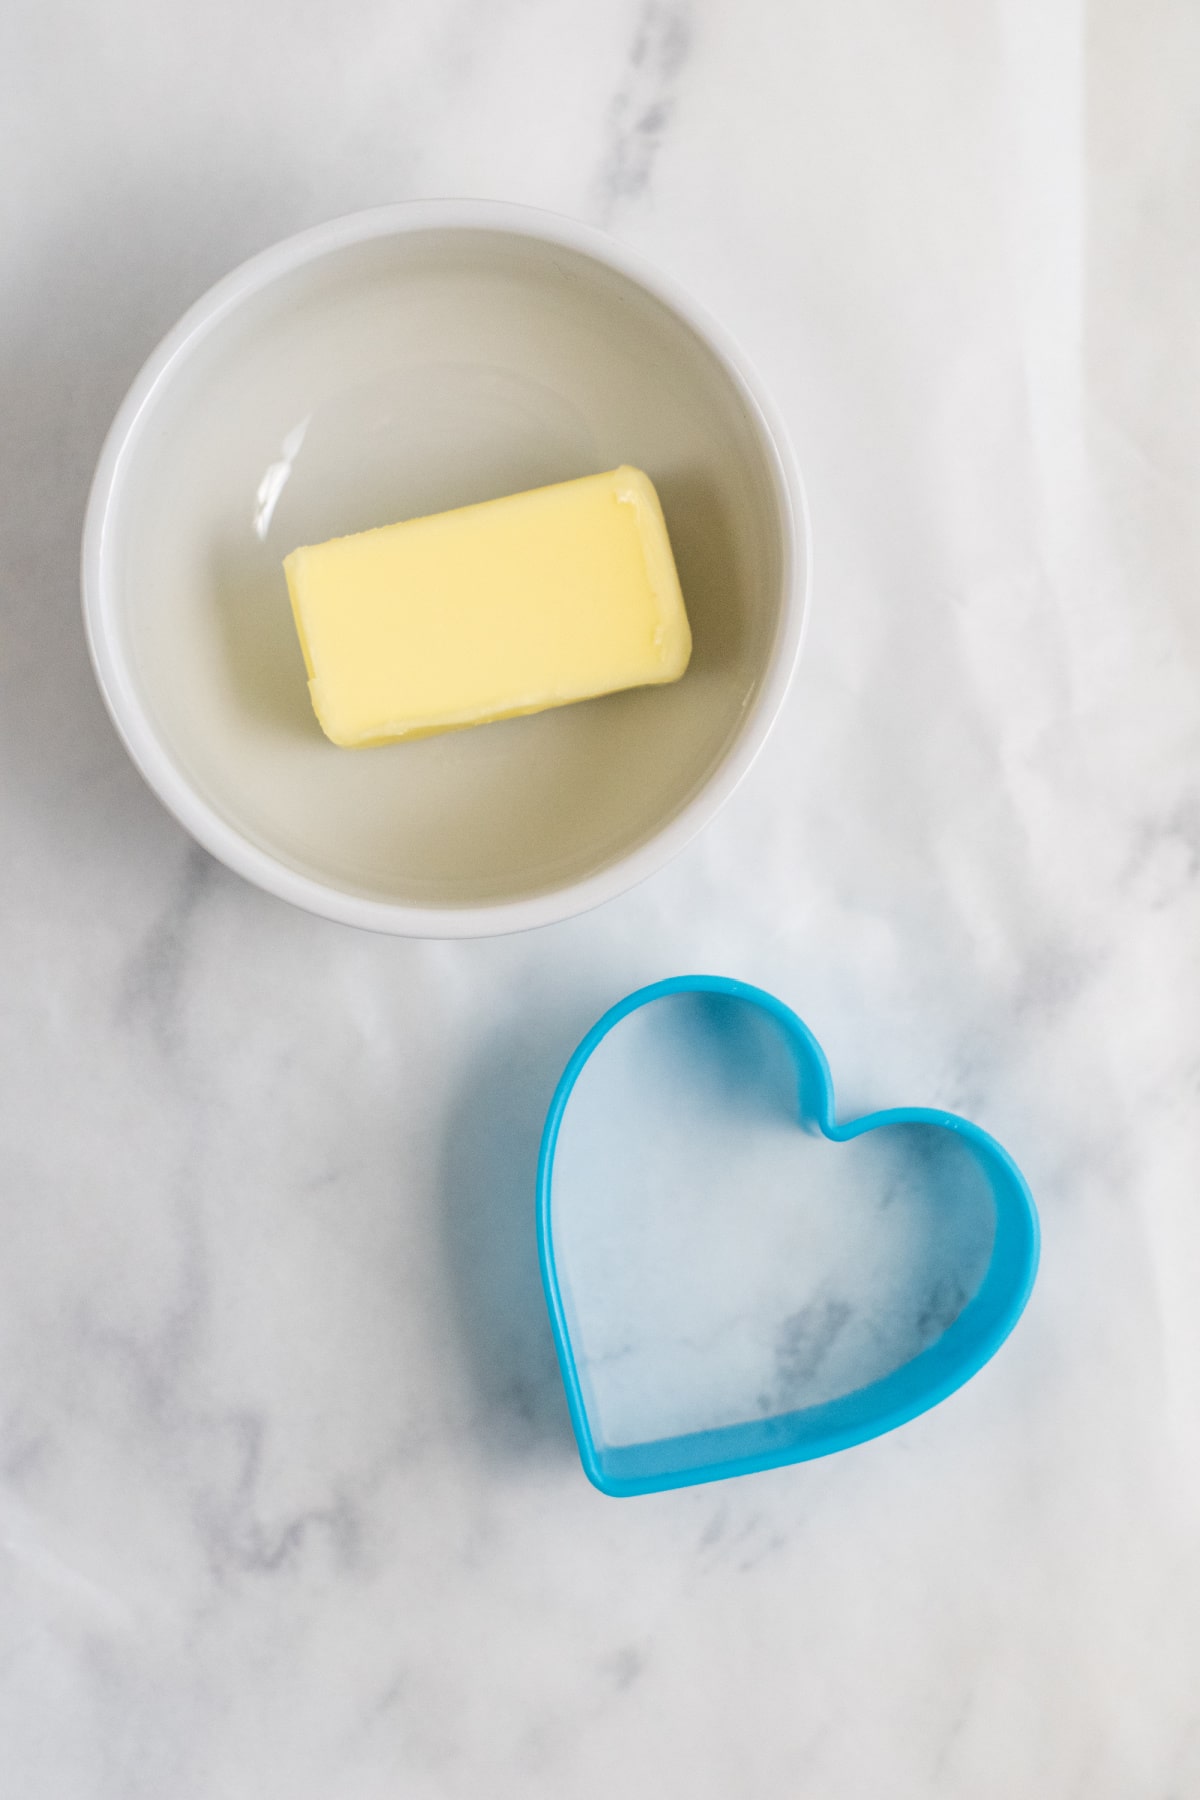
Step 1: Line your surface with wax paper or parchment paper. Butter your hands and the cookie cutter.
Step 2: Working quickly, press cereal mixture into the cookie cutter to form hearts.

Be sure to pack the Rice Krispie mixture firmly into the cutter until it’s almost full.
Continue working until you’ve used all the cereal mixture.
To Decorate the Hearts
Adding The Chocolate Coating:
Step 1: Place cooled heart shape treats on the layer of wax paper, giving yourself plenty of room to work.
Step 2: Working with one color at a time, place candy melts in a microwave-safe bowl.
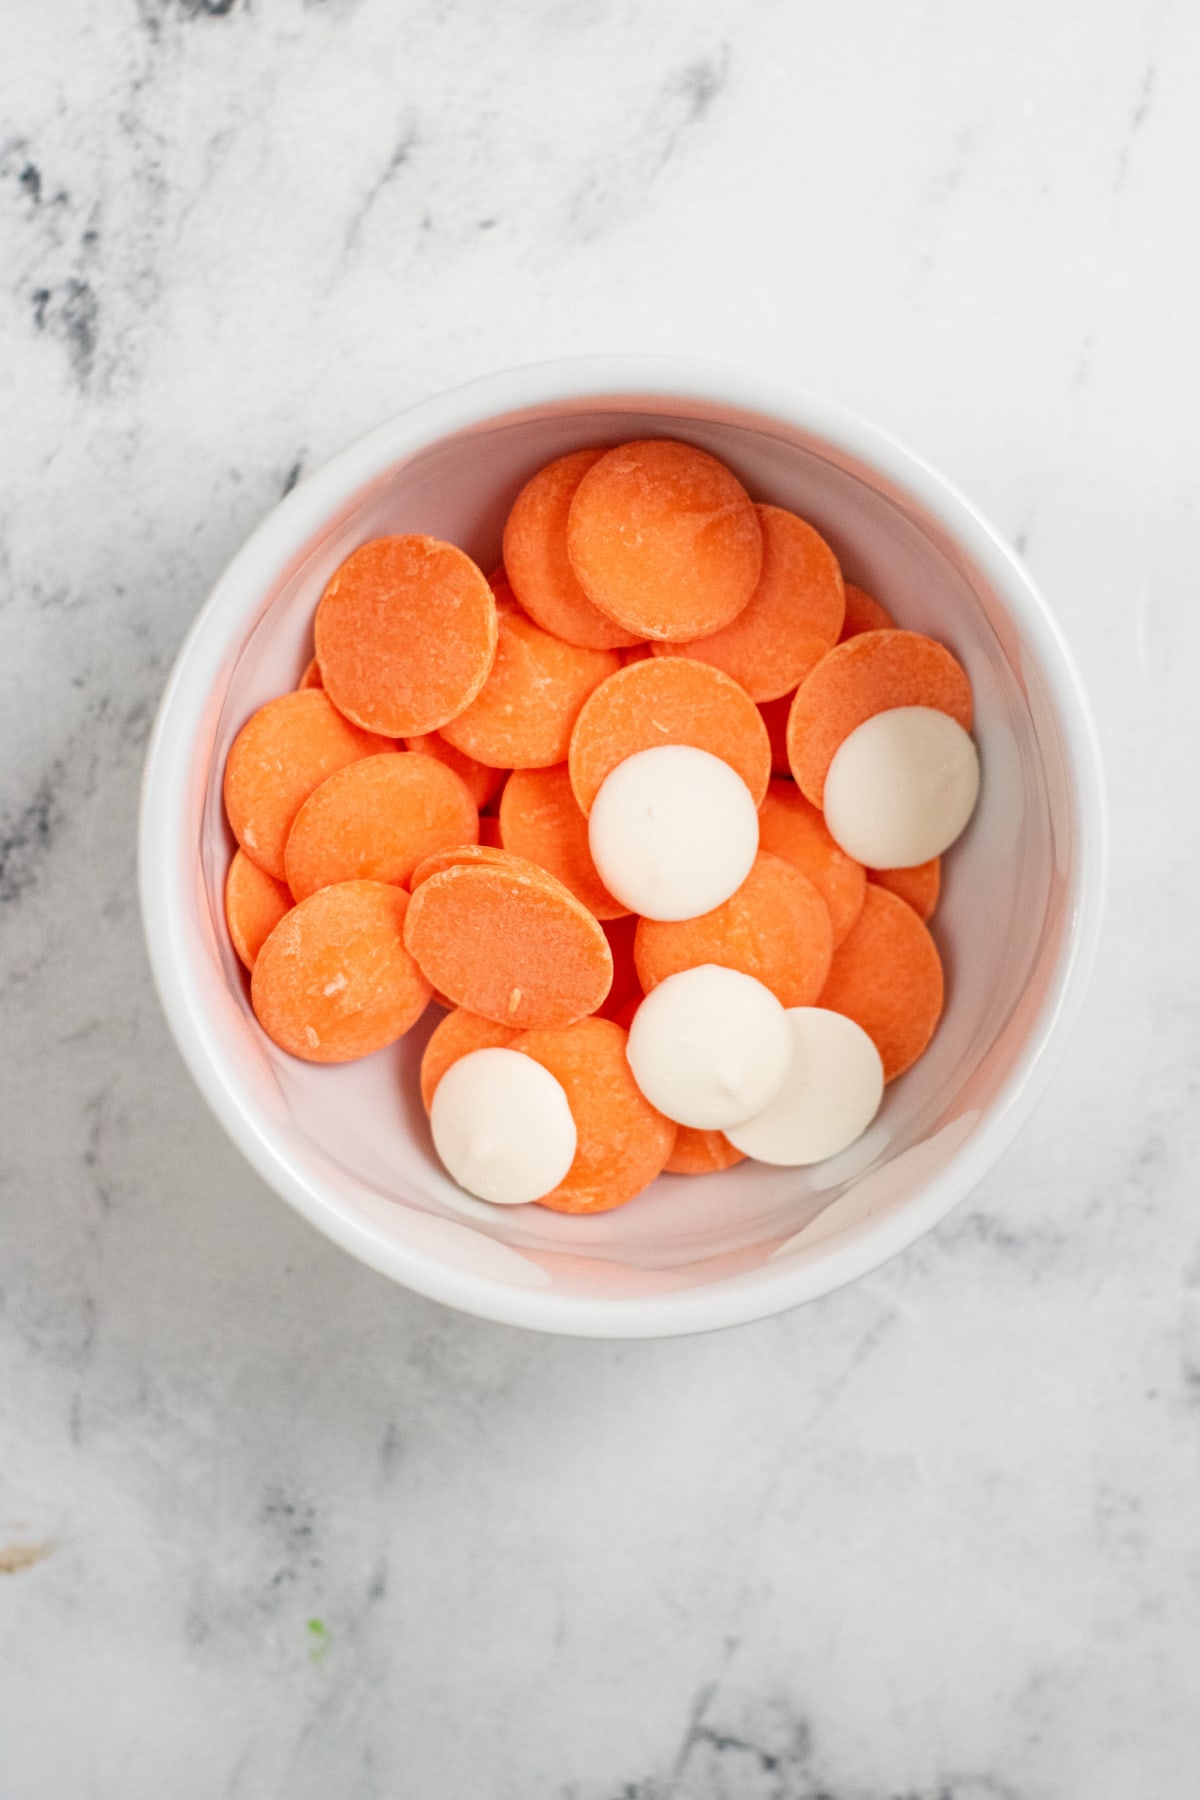
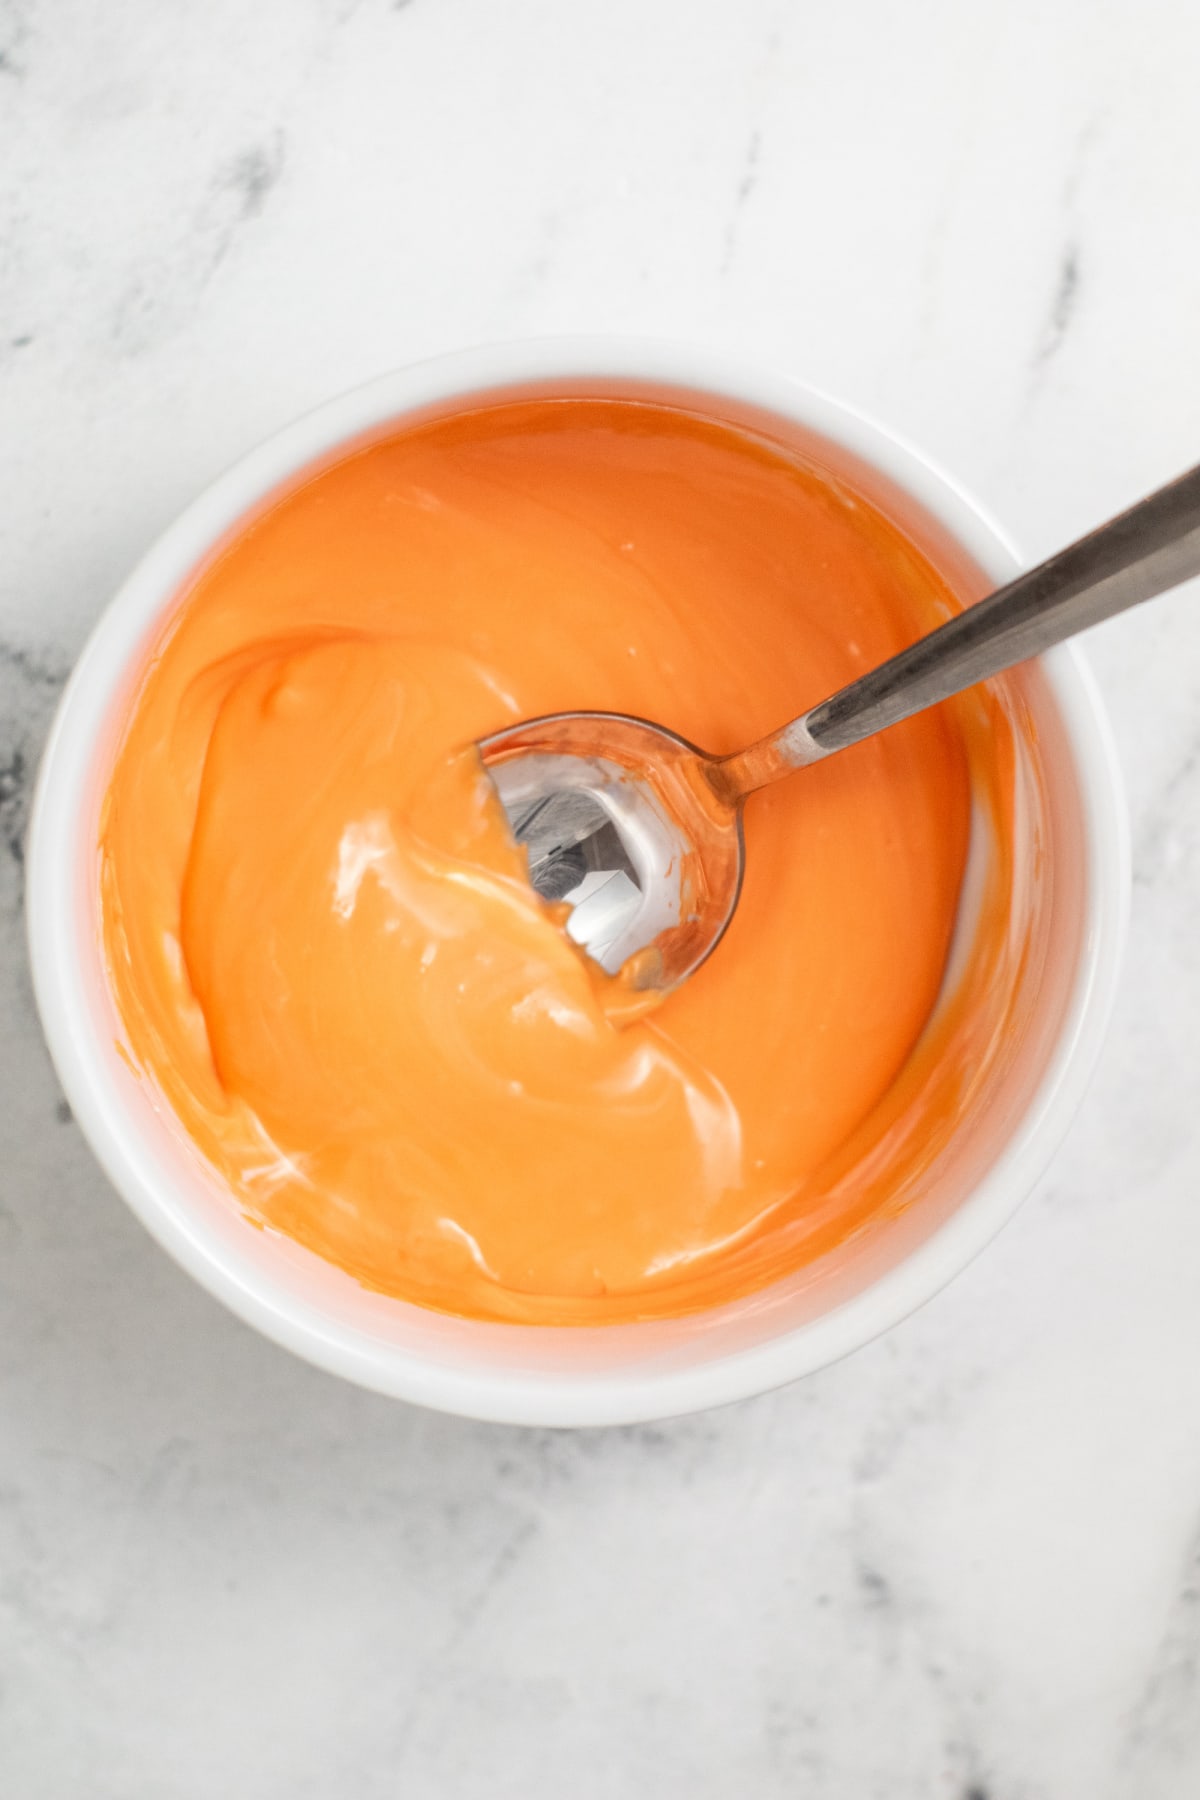
Step 3: Microwave in 30-second intervals, stirring between each interval. Continue heating until chocolate is melted and smooth.
If the chocolate melts aren’t smooth enough, add shortening one teaspoon at a time until desired consistency is reached. You can also use coconut oil, but it will give them a slight coconut flavor. If you have time to order it in advance, I love to use Wilton EZ Thin Dipping Aid, which is designed just for this purpose.
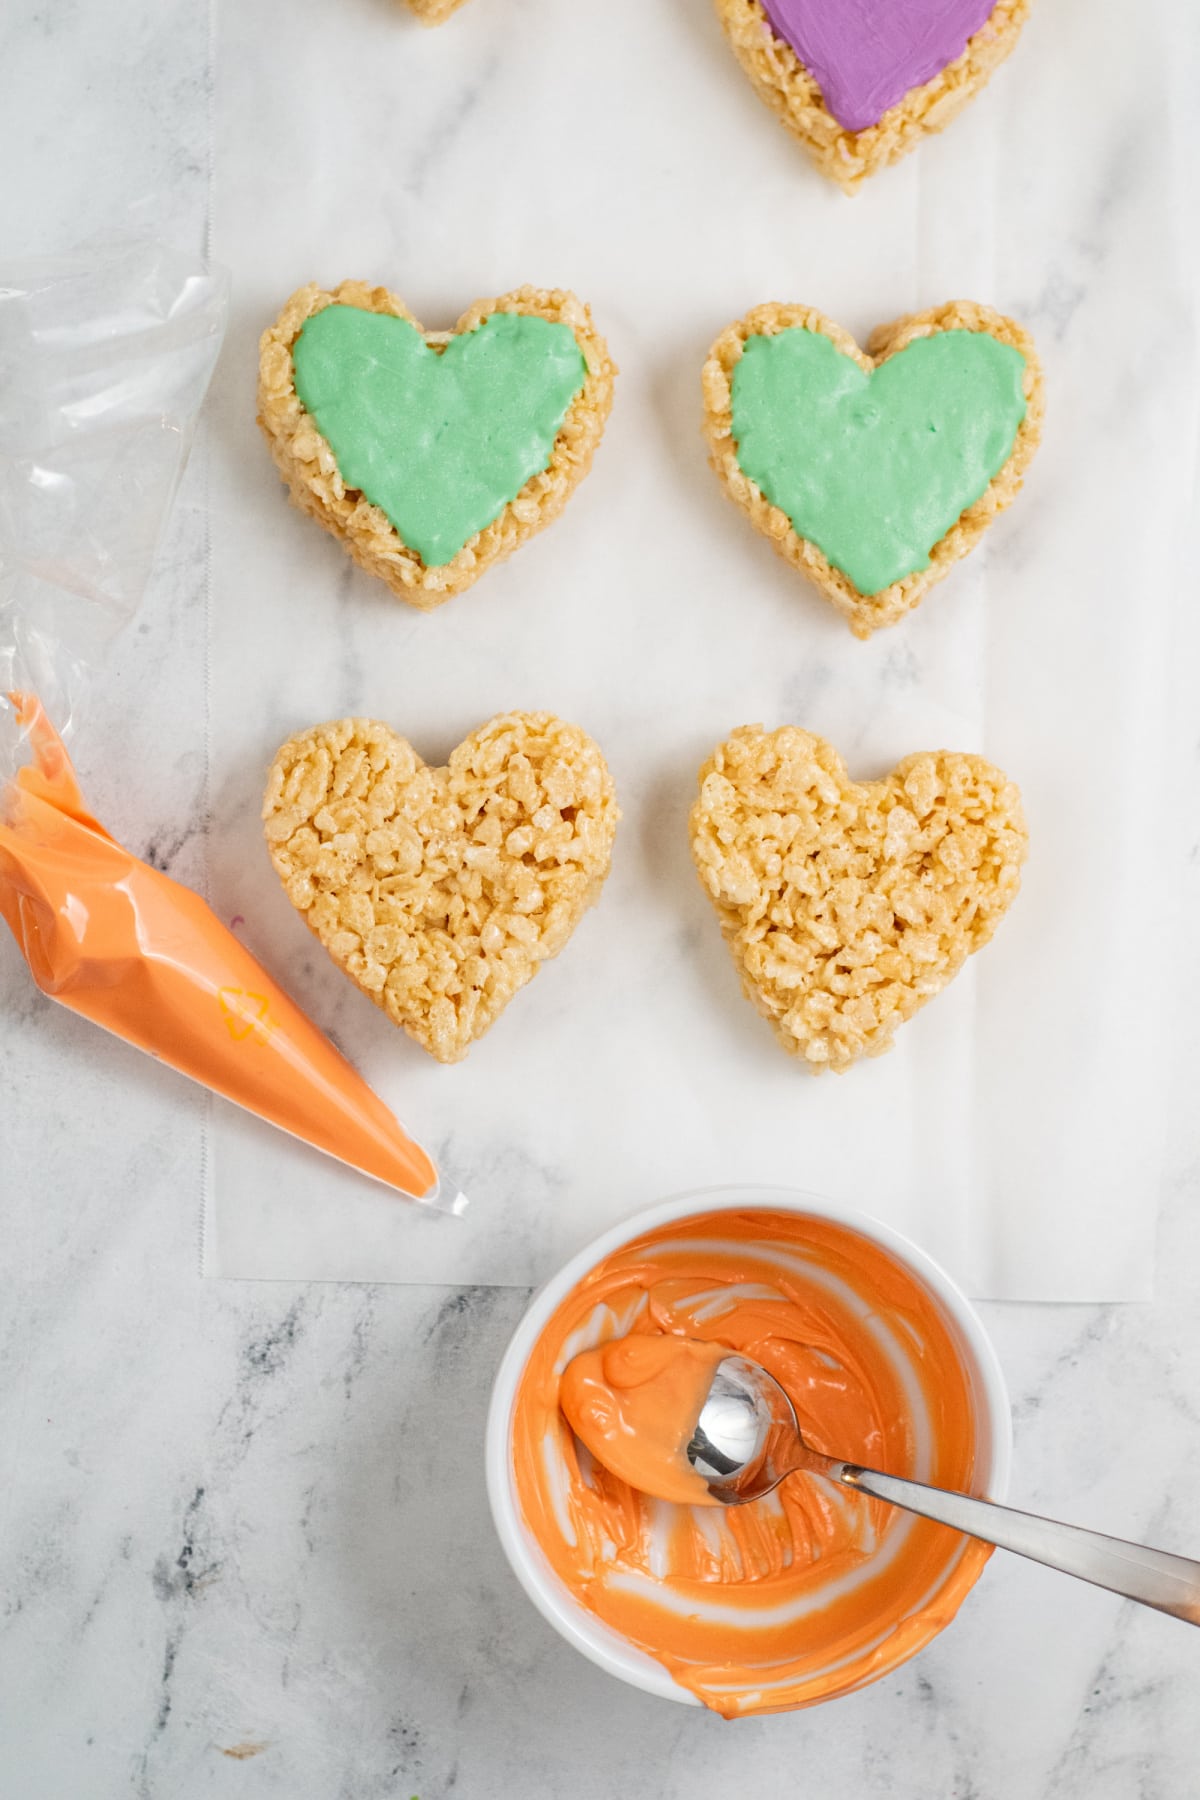
Step 4: Place the melted chocolates in a piping bag and cut off the end to create a small hole.
Step 5: Pipe melted chocolate around the edge of each Rice Krispie treat, outlining the heart shape. Once the outline is finished, fill it in with more melted chocolate. Smooth with a knife to create an even finish.
Step 6: Allow to cool completely. Repeat with additional colors until all your treats are coated.
Adding Messages To The Hearts
Step 1: Using an edible marker, write your messages to the chocolate coating. The great thing about tracing it with the marker, versus doing it freestyle, is that if you make a mistake, you can just wipe it off with a moist paper towel and try again.
Step 2: Melt red or pink candy melts and place them in a piping bag.
Step 3: Cut a small hole in the end of the piping bag, then trace the letters with melted candy.
Step 4: Give the chocolate on top of the treats some time to cool before serving or storing.

Frequently Asked Questions
How do I store Valentine’s Day Rice Krispie Treats?
Store these crispy treats in an airtight container at room temperature. They are a little sticky, especially when they are stored on top of each other so placing a piece of wax paper between the layers will keep them from sticking together.
Where can I buy candy melts?
While you can sometimes find candy melts in your local grocery store, the choices will be limited. I usually buy mine in the cake decorating section of Walmart, Michaels, Joanne’s Fabrics. You can also order them from Amazon.
Can I use white chocolate chips or almond bark instead of candy melts?
You sure can. Not all grocery stores carry a variety of colored candy melts. If you can’t find them, you can certainly use white chocolate chips or almond bark instead. Just use food coloring to dye the chocolate into whatever different colors you’d like. When you do, be sure to use an oil-based food coloring.
You can melt the whole batch of white chocolate at once using a double boiler or in the microwave in a large microwave-safe glass bowl. Next you’ll separate them into different containers to mix in the food coloring.
The only drawback is that you’ll have to work fairly quickly to finish decorating before the chocolate hardens. The other, more leisurely, option is to melt enough chocolate for one color, spread over the Rice Krispie treats, then work on the next color.

The number one reason rice krispie treats harden is because you overcooked the marshmallow mixture. To prevent the sugar in the marshmallows from breaking down and hardening, remove it from the heat just before the marshmallows are completely melted. The leftover heat will finish melting them as you stir.

Tips And Variations For The Best Rice Krispy Treats:
- If you’re using a cookie cutter to cut into a sheet of treats, be sure you press them out in a thin even layer. You want them thick enough that they’ll stay together but thin enough that the cookie cutter can cut all the way through.
- Whether you’re hand pressing them into the cutter or cutting them out, you want to really pack the mixture together tightly. This will help them keep their shape once they cool.
- Save the leftover edges of the treats. Press them back together to get another treat out of them. Or, if the kids are helping, I am sure they’ll be happy to help by eating the leftover edges!
- If you decide to hand press the hearts into the cutters, use a little butter or non stick spray on your hands to keep the gooey marshmallows from sticking to your hands.
- If your kids like cake pops, you can make similar treats buy pushing a lollipop stick, from the bottom, into the center of each one,
- If you love these treats but decide you don’t want to make them into conservation hearts, you can still make them super cute Valentine’s Day treats. Just drizzle with white chocolate and use red and pink festive sprinkles. You can even use mini M&M’s in Valentine colors.

Want More Valentine’s Day Recipes?
- Red Velvet Brownies
- Best Valentine’s Day Mocktails
- Cherry Hand Pies
- Dark Chocolate Valentine Hearts
- Valentine Candy Hearts
- 30 Deliciously Decadent Valentine’s Day Desserts
- Mini Valentine Cake with Candy Surprise
- Valentine’s Day Bark with White and Dark Chocolate
- Best Valentine’s Day Cocktails

Valentine Rice Krispie Treats
Equipment
Ingredients
- 10 ounces mini marshmallows 1 bag
- 1/4 cup butter
- 6 cups Rice Krispie cereal
- 1/2 cup white candy melts
- 1/2 cup pink candy melts
- 1/2 cup purple candy melts
- 1/2 cup blue candy melts
- 1/2 cup orange candy melts
- 1/2 cup green candy melts
- 1/2 cup yellow candy melts
- Edible marker
- 1-2 tablespoons shortening if needed
Instructions
- Place marshmallows and butter in a large pot or dutch oven.10 ounces mini marshmallows, 1/4 cup butter
- Heat on medium/low heat, stirring frequently until mixture is completely melted and smooth.
- Remove from heat and pour rice krispies into the melted marshmallows.6 cups Rice Krispie cereal
- Fold them in to the marshmallows, mixing until all the cereal is coated with the marshmallow mixture.
- Press the cereal mixture in an even layer into a parchment lined 13×9 inch baking dish or other rimmed large pan and allow to cool completely.
- Option 1 For Cutting Hearts: Once cooled remove the treats from the pan and cut out hearts with a buttered 3″ cookie cutter. Set treats to the side to be decorated.
- Option 2 For Cutting Hearts: Line your surface with wax paper or parchment paper. Butter your hands and the cookie cutter. Working quickly press cereal mixture into the cookie cutter to form hearts. Continue with remaining cereal mixture.
- Place cooled heart shape treats on the layer of wax paper, giving yourself plenty of room to work.
- Working with one color at a time, place candy melts in a microwave-safe bowl.1/2 cup white candy melts, 1/2 cup pink candy melts, 1/2 cup purple candy melts, 1/2 cup blue candy melts, 1/2 cup orange candy melts, 1/2 cup green candy melts, 1/2 cup yellow candy melts
- Microwave in 30-second intervals, stirring between each interval. Continue heating until chocolate is melted and smooth.
- Place the melted chocolates in a piping bag and cut off the end to create a small hole.
- Pipe melted chocolate around the edge of each Rice Krispie treat, outlining the heart shape. Once the outline is finished, fill it in with more melted chocolate. Smooth with a knife to create an even finish.
- Allow to cool completely. Repeat with additional colors until all your treats are coated.
- Using an edible marker, write your messages to the chocolate coating. The great thing about tracing it with the marker, versus doing it freestyle, is that if you make a mistake, you can just wipe it off with a moist paper towel and try again.Edible marker
- Melt red or pink candy melts and place them in a piping bag. Cut a small hole in the end of the piping bag, then trace the letters with melted candy.
- Give the chocolate on top of the treats some time to cool before serving or storing.
- Enjoy!
Notes
- If you’re pressing the cereal mixture into the cookie cutter by hand, be sure to pack firmly until almost full.
- If the chocolate melts aren’t smooth enough, add shortening one teaspoon at a time until desired consistency is reached. You can also use coconut oil, but it will give them a slight coconut flavor. If you have time to order it in advance, I love to use Wilton EZ Thin Dipping Aid, which is designed just for this purpose.
- If you prefer more pastel colors, add white candy melts to your colored ones, a little at a time. Continue to add white until you get the desired color.
Nutrition
Did You Make This Recipe?
Share it with me on Instagram @funmoneymom and follow on Pinterest @funmoneymom for more!
Let’s be friends!
Did you love this post? Make sure to comment below and let me know your thoughts! And don’t forget to follow on your favorite social network below!

About Lisa O’Driscoll
Lisa O’Driscoll is a lifestyle and parenting expert, cookbook author, and the creative force behind Fun Money Mom, a popular blog she’s run since 2014. She’s the author of the children’s cookbook Roll It, Slice It, Mash It, Dice It, designed to get kids excited about cooking. With multiple TV appearances under her belt, she loves sharing her expertise on family-friendly recipes, creative DIYs, and party planning and is always on a mission to inspire and entertain!