No Carve Emoji Pumpkins
This post may contain affiliate links. As an Amazon Associate, I earn from qualifying purchases.
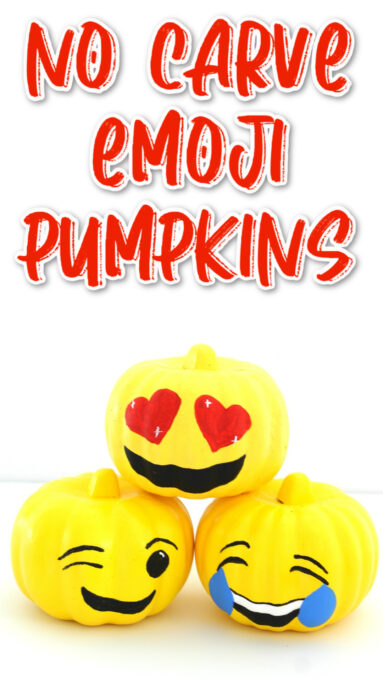

These adorable Emoji Pumpkins are as easy as they they are fun to make. All you need is paint, a pumpkin, and a little creativity and you’ll have the happiest Halloween decorations on the block!

I’ve always loved getting creative with Halloween pumpkins, and over the years I’ve made just about everything from a classic painted witch pumpkin and Frankenstein to fun pop-culture favorites like a Harry Potter pumpkin and even Pikachu. I’ve even had the chance to share some of my pumpkin creations on Sarasota’s Suncoast View, which is always such a blast!
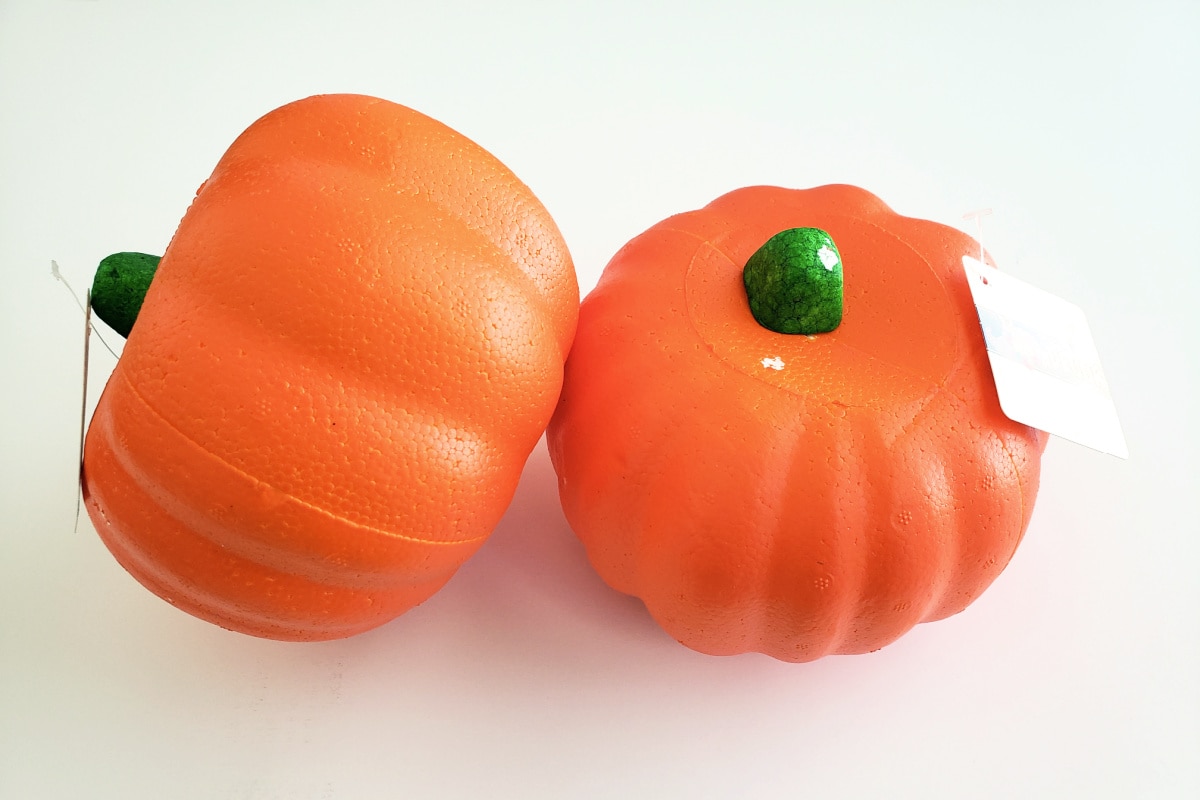
One of my favorite things about these Emoji Pumpkins is how easy and budget-friendly they are. The foam pumpkins come from Dollar Tree, and with just a little paint you can create something festive in no time. They’re also perfect for parties – just paint the pumpkins yellow in advance, then let the kids add their own emoji faces for a fun, no-carve activity.
TIP: Hosting a party but not ready for a paint-splattered house? Hand out pre-painted yellow pumpkins and let the kids decorate with colorful Sharpies and white paint pens instead. It’s just as fun and way less messy!
Supplies For Making Emoji Pumpkins
- Pumpkins
- Bright yellow acrylic paint
- Red acrylic paint
- Black acrylic paint
- White acrylic paint
- Blue acrylic paint
*Check the tutorial card below for quick Amazon links to all the supplies.
Tips And Tricks
- You’ll most likely need two coats of yellow paint so be sure you factor in the time it takes for the paint to dry.
- Acrylic craft paint works best for these. I get mine at Walmart for under $2.
- Lightly draw the emoji face with a pencil first. It makes painting (or coloring) much easier and keeps your lines neat.
- Want to save these to use as decor next Halloween? Once your pumpkin is dry, spray with a clear sealer to help the faces last longer than just one season.
More Fun Pumpkin Ideas
Want more pumpkin crafts? Check out this colorful melted crayon (a little messy but SO fun to make) or see more of my Halloween pumpkins below!
- The Best No Carve Pumpkins For Kids
- Mickey Mouse Pumpkin (with Minnie Mouse Pumpkin Too)
- Grinch Pumpkin
- Unicorn Pumpkin
- Baby Shark Pumpkin
- Spiderman Pumpkin
- Hello Kitty Pumpkin
- Vampire Pumpkin

Emoji Pumpkins
Equipment
Materials
Instructions
- Paint all of your pumpkins yellow, except for the bottom. Let dry. Flip over and paint the bottom. Let dry and then repeat with a second coat if needed.3 Foam craft pumpkins, Yellow acrylic craft paint

- Once your pumpkin is dry, use a pencil to draw two heart shaped eyes and a mouth. You can skip this step if you are super confident in your ability to get it right the first time!
- Paint the eyes red and the mouth black.Black acrylic craft paint, Red acrylic craft paint
- Finally, use white paint to give the eyes a little sparkle.White acrylic craft paint
- Repeat to make a winking emoji.Black acrylic craft paint, White acrylic craft paint
- Repeat to make a laughing with tears emoji.Black acrylic craft paint, Blue acrylic craft paint, White acrylic craft paint


Notes
- You’ll most likely need two coats of yellow paint so be sure you factor in the time it takes for the paint to dry. I calculated 4 hours above, though it may not take quite that long.
- Acrylic craft paint works best for these. I get mine at Walmart for under $2.
- Lightly draw the emoji face with a pencil first. It makes painting (or coloring) much easier and keeps your lines neat.
- Want to save these to use as decor next Halloween? Once your pumpkin is dry, spray with a clear sealer to help the faces last longer than just one season.
Did You Make This Project?
Share it with me on Instagram @funmoneymom and follow on Pinterest @funmoneymom for more!
Let’s be friends!
Did you love this post? Make sure to comment below and let me know your thoughts! And don’t forget to follow on your favorite social network below!

About Lisa O’Driscoll
Lisa O’Driscoll is a lifestyle and parenting expert, cookbook author, and the creative force behind Fun Money Mom, a popular blog she’s run since 2014. She’s the author of the children’s cookbook Roll It, Slice It, Mash It, Dice It, designed to get kids excited about cooking. With multiple TV appearances under her belt, she loves sharing her expertise on family-friendly recipes, creative DIYs, and party planning and is always on a mission to inspire and entertain!