
SpongeBob Valentine Box (With Printable Template)
This post may contain affiliate links. As an Amazon Associate, I earn from qualifying purchases.
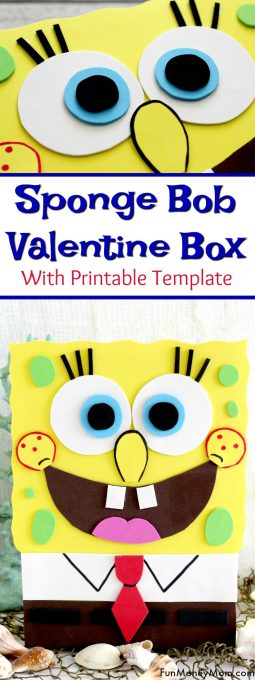
This SpongeBob Valentine Box is perfect for little SpongeBob fans. I’ve included a free printable template to make it easy for crafty kids to create their own Valentine box from start to finish.
The crafting spree has begun! Every year I go a little overboard with Valentine’s Day box ideas, and have made everything from a Unicorn Valentine Box to a Minions valentine’s box.
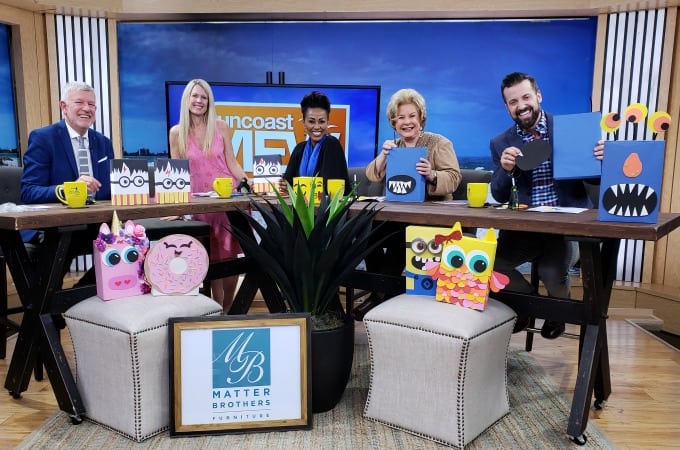
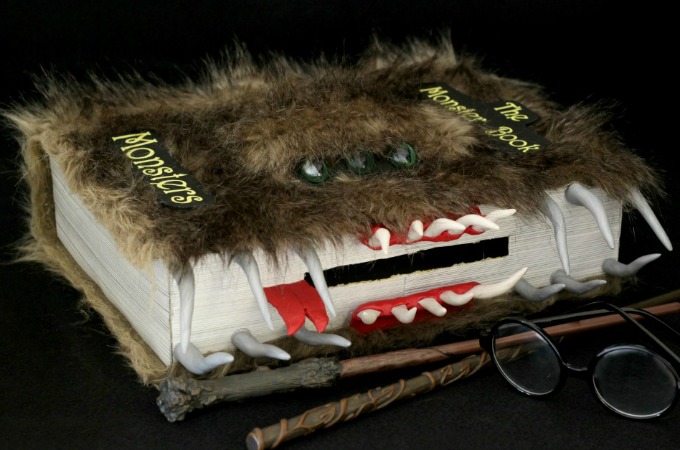
I’ve even been invited to share them on my favorite local morning show, Suncoast View, which means I’m always making more. I’m not sure I’ll ever top my Monster Book Of Monsters Valentine Box from Harry Potter, but I’m definitely having a blast trying.
This year I gave a SpongeBob Valentine Box a try and love the way it turned out! If you have little SpongeBob fans in your house, they’re going to have so much fun making this. I’ve even created a printable template to make it easy!
Want to see all of my 20+ Valentine Boxes? Scroll to the end of this post to see the entire list.
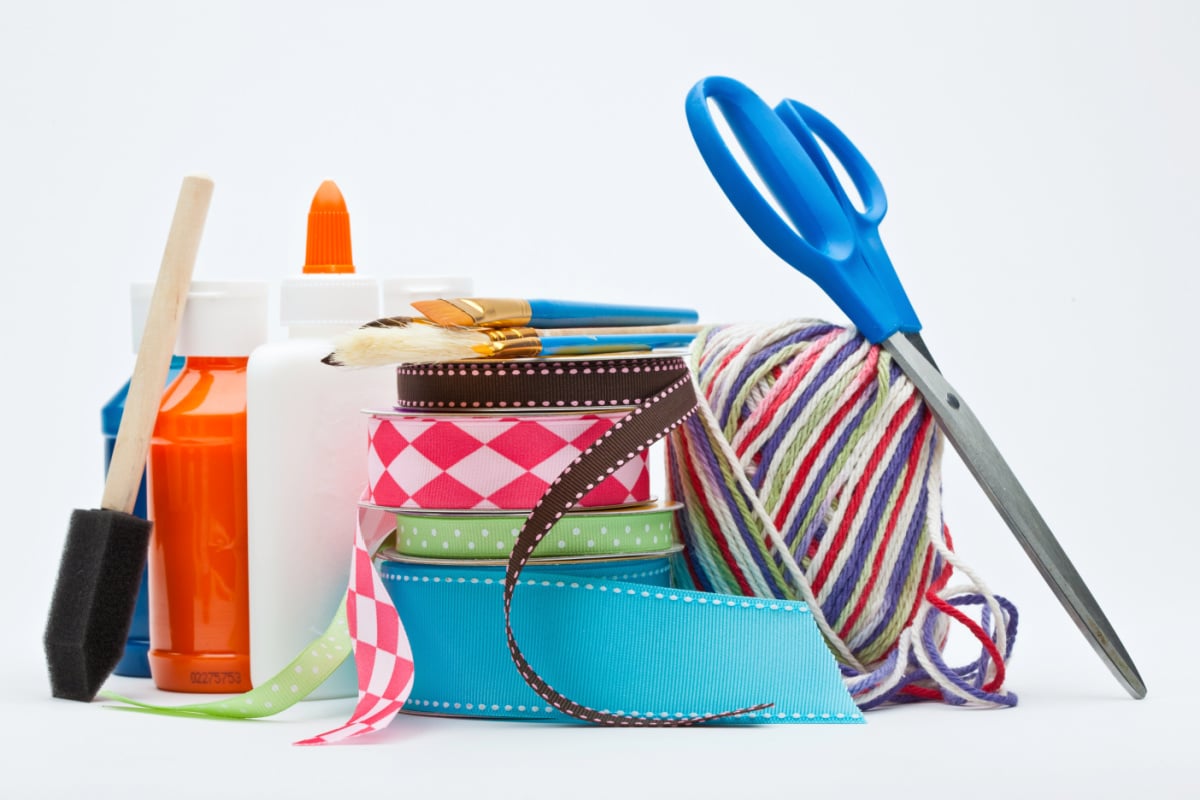
What You’ll Need
- Printable template (see below)
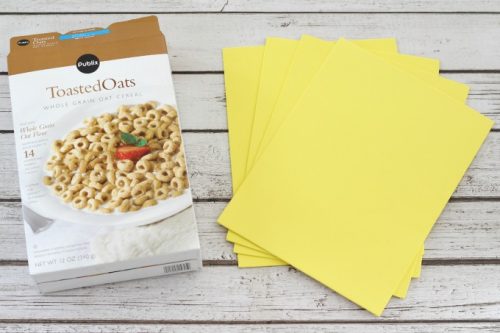
- Cereal box
- Yellow craft foam
- White craft foam
- Pink craft foam
- Brown craft foam
- Light blue craft foam
- Light green craft foam
- Black craft foam
- Red craft foam
*You’ll also need an X-acto knife (to cut the hole for the cards), scissors, hot glue gun, glue sticks, and pink and black markers. If your child is too young to use a glue gun, feel free to use regular craft glue instead.
Since I’ve made a lot of Valentine boxes over the years, I know tracking down supplies can be half the battle. So I created an Amazon storefront with everything you need for this Valentine box, all in one spot to save you time.
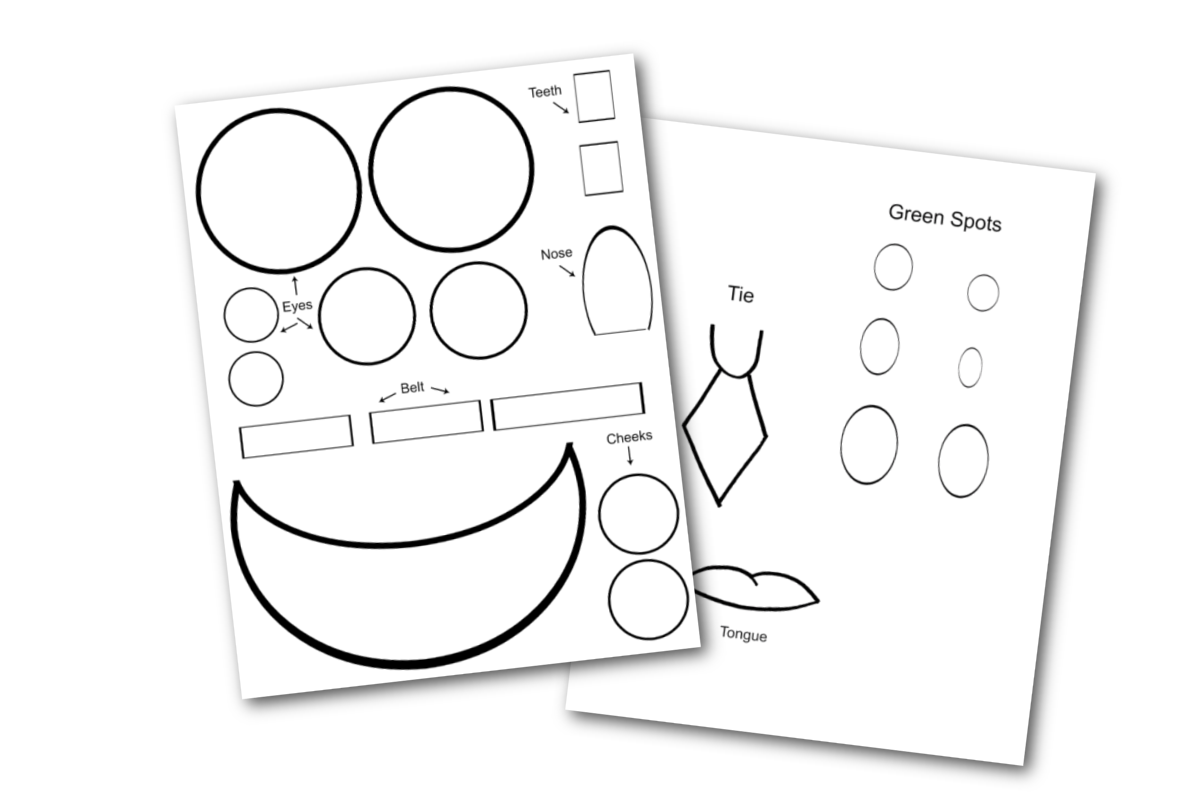
SpongeBob Valentine Box
I always love including templates in my projects when I can. It’s totally optional for you to use them (you may want to add your own unique touches) but it does make it a little easier to follow along.
The younger kids may want to just color the shapes on paper, then just cut and glue to the box. Our preferred way is to cut out each shape and use it as a tracer on a craft foam piece. Then just cut them out, glue them to your box and watch SpongeBob come to life!
How To Download & Use Your Free Printable Template
- Enter your first name and email address in the form below.
- Check your inbox. Your template should arrive within minutes.
- Download and print.
- Cut out the pieces and use them to trace the shapes onto the craft foam. Now you’ve got everything you need to create this cute owl craft!
- Scroll down for the full step-by-step tutorial.
SpongeBob Valentine Box
Materials
- Printable template see post above
- 12 oz regular size cereal box if you use a bigger box, you’ll need bigger yellow craft foam sheets
- 3 sheets yellow craft foam 9"x12" or larger
- 1 sheet white craft foam
- 1 sheet pink craft foam
- 1 sheet brown craft foam
- 1 sheet light blue craft foam
- 1 sheet light green craft foam
- 1 sheet black craft foam
- 1 sheet red craft foam
Instructions
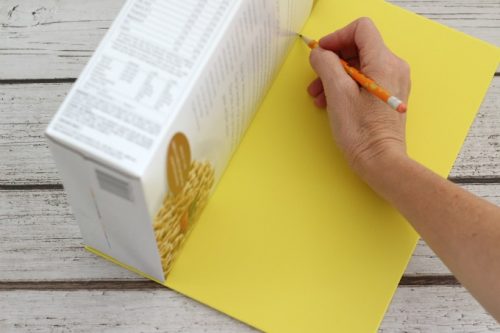
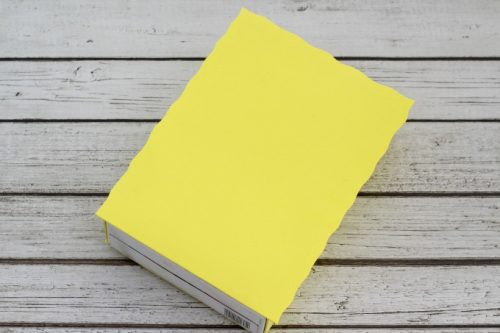
- Start by wrapping your cereal box in yellow craft foam. We used a regular sized cereal box but it you use a family sized one, you'll need more foam.3 sheets yellow craft foam, 12 oz regular size cereal box

- Trace around the box to make pieces to cover the back, the two sides and the top of the box. Don't cover the front yet.
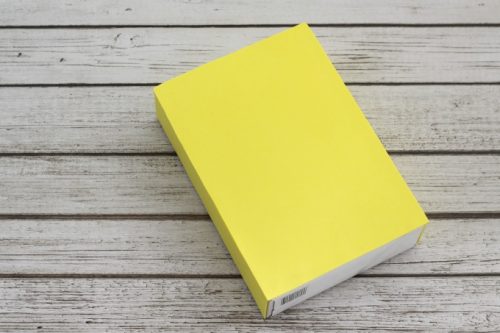
- Glue the foam pieces to the sides and back of the box.
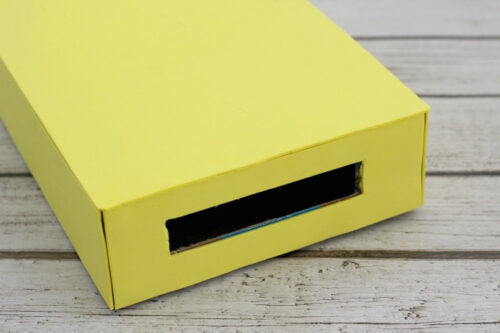
- Use a craft or X-acto knife to cut a hole in the top of the box. (Younger children will need their parents to do this part)
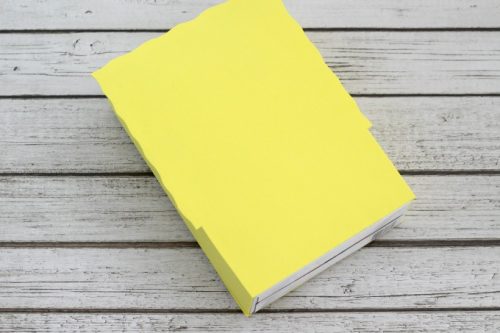
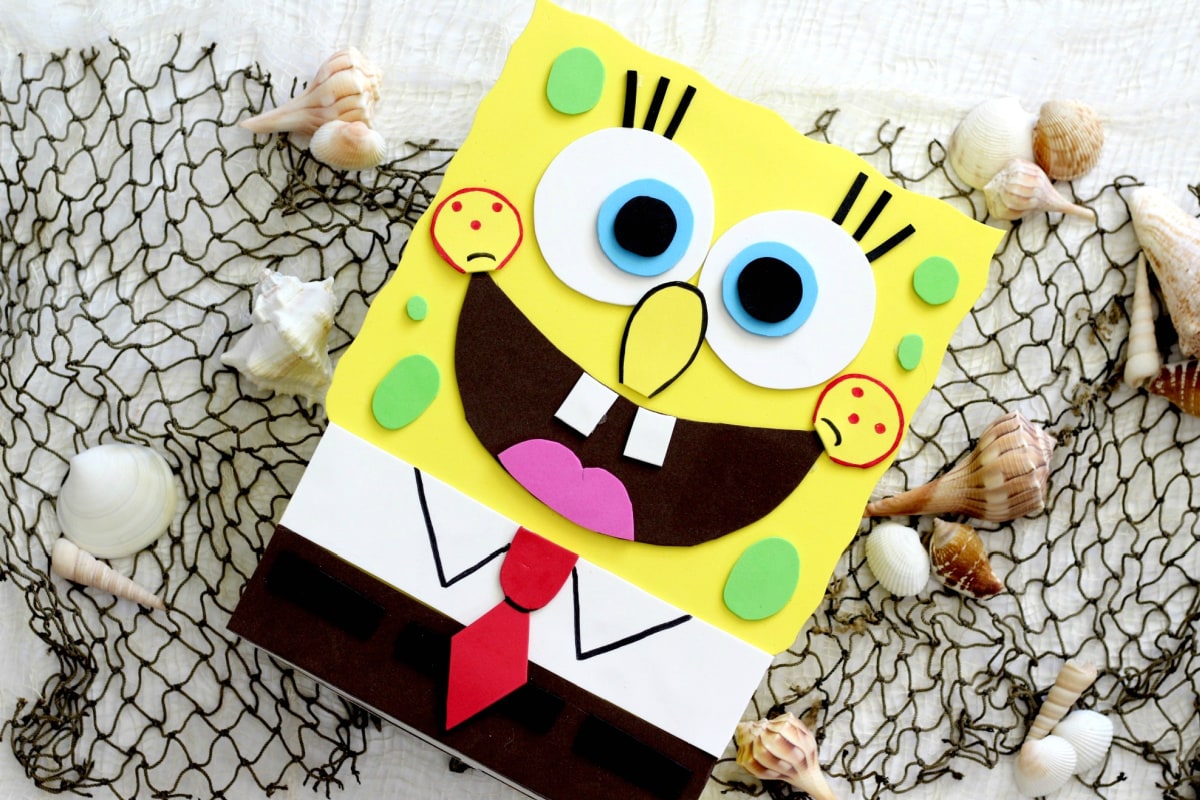
- Take your last piece of foam and use the scissors to scallop the edges. Glue that piece to the front of the box, making the bottom edge flush with the bottom of the box. The other three edges will extend slightly over the sides.
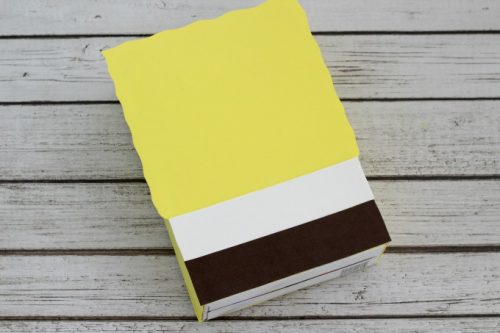
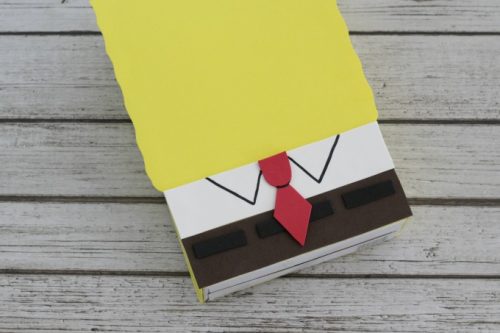
- Measure about 1/3 up the side of the box and cut the yellow foam so that it’s even with the sides. Leave the top 2/3rds extending out. This will give the SpongeBob valentine box a defined head.
- Cut equal size strips of white and brown foam to make the shirt and the pants. Glue them on, with the white above the brown.1 sheet white craft foam, 1 sheet brown craft foam
- Glue the belt pieces, then the tie. Finally, use a black marker to make the collar. You can draw it with pencil first to make sure it's even.
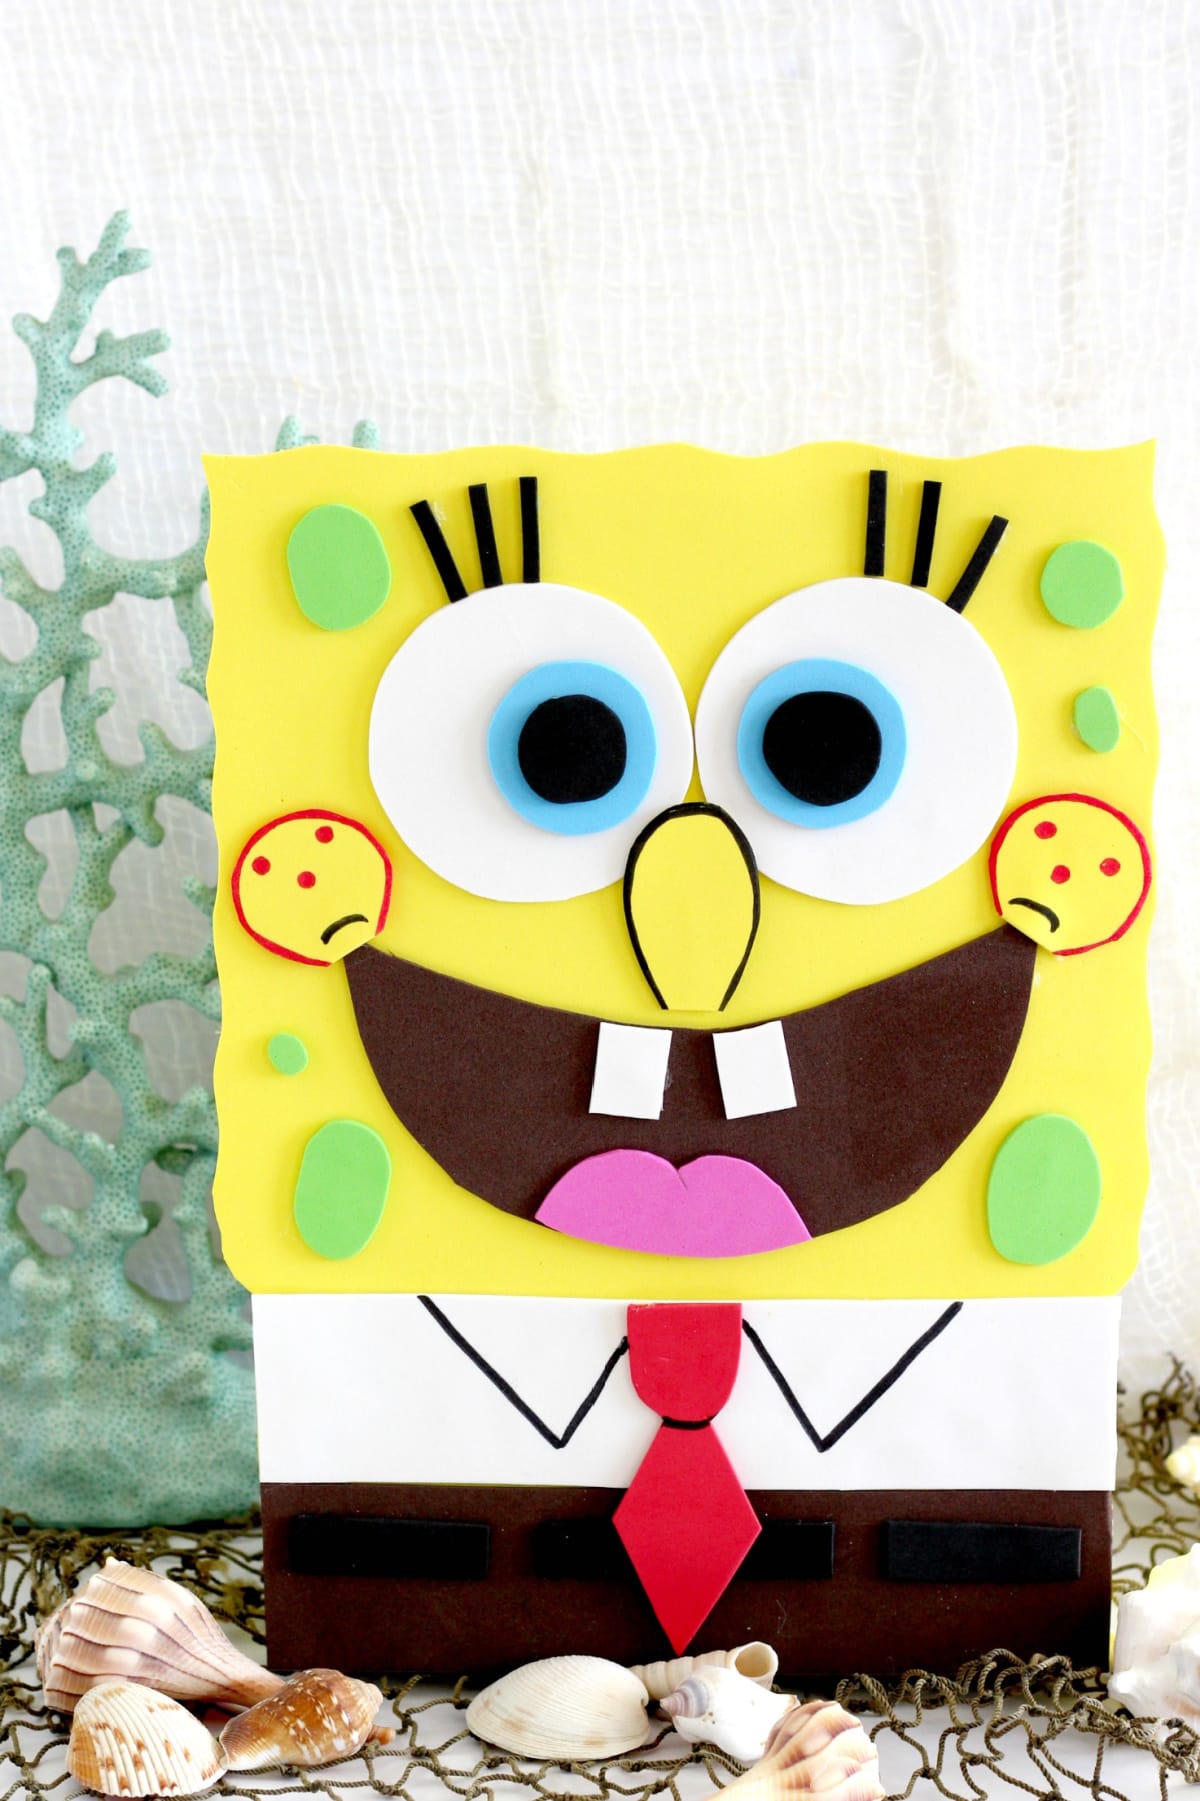
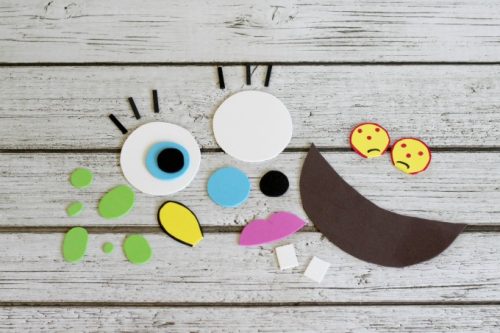
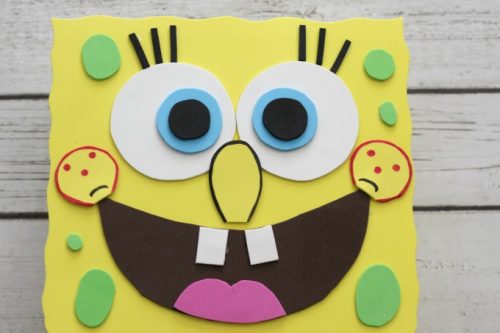
- To make the face, print and cut out the template pieces and use them to trace onto the corresponding colored craft foam. Make small black strips for the eyelashes.Printable template , 1 sheet pink craft foam, 1 sheet light blue craft foam, 1 sheet light green craft foam, 1 sheet black craft foam, 1 sheet red craft foam
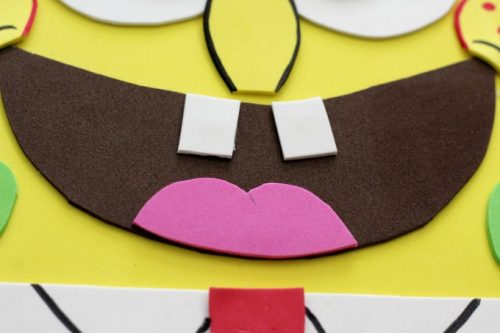
- Place all the pieces on the yellow foam without gluing, to get a feel for how they will all fit. Then you can start by gluing the mouth, the teeth and the tongue.
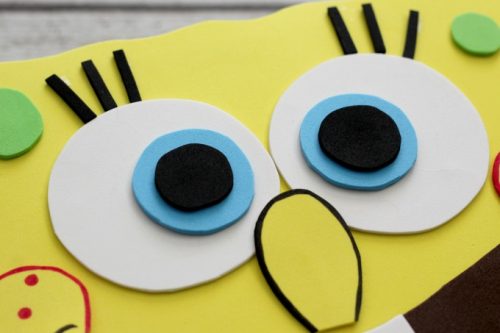
- To make the eyes, glue the blue circles inside the large white ones, slightly off-center. Next, glue the black circles inside the blue ones. Glue the eyes to the yellow foam, then add the nose so that it just overlaps the bottom of the eyes .If you want it to stand out more, trace around it with black marker first. Finally, cut out strips for eyelashes and glue at the top of the eye.
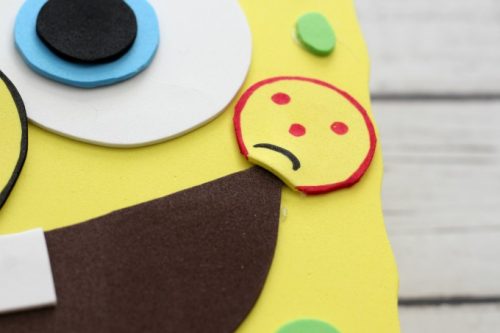
- Before adding the cheeks, use a pink marker (red works too) to outline it and draw the dots. Use black marker to make a smile line. Glue cheeks to the outer corner of the mouth.
- Finally glue the green circles and ovals around the face.
Notes
- You won’t use the entire foam sheet for most of these shapes so if you have scraps from a previous project, you may be able to use those instead.
- We typically don’t cover the bottom with craft foam because it can make the box a little wobbly.
Did You Make This Project?
Share it with me on Instagram @funmoneymom and follow on Pinterest @funmoneymom for more!
That’s it…easy, right? You now have your very own SpongeBob Valentine Box!
Next up? Chewbacca! Since I had extra fur left over from the Monster Book Of Monsters and Chewbacca also happens to be my five year old’s favorite character, it just makes sense!
More Valentine Box Ideas
More Fun Valentine Box Ideas:
- Shark Valentine Box
- Soccer Valentine Box
- Hedgehog Valentine Box
- Baby Yoda Valentine Box (with matching Valentine cards)
- Among Us Valentine Box
- Gnome Valentine Box
- Robot Valentine Box
- Spiderman Valentine Box
- Monster Book Of Monsters Valentine Box
- Harry Potter Valentine Box
- Owl Valentine Box
- Panda Valentine Box
- LEGO Valentine Box
- Chewbacca Valentine Box
- Unicorn Valentine Box
- Dog Valentine Box
- Heart Shaped Valentine Box
- SpongeBob Valentine Box
- Shopkins TV Valentine Box
- Donut Valentine Box
- Minion Valentine Box
- Cat Valentine Box
- Shopkins Calculator Valentine Box
Let’s be friends!
Did you love this post? Make sure to comment below and let me know your thoughts! And don’t forget to follow on your favorite social network below!

About Lisa O’Driscoll
Lisa O’Driscoll is a lifestyle and parenting expert, cookbook author, and the creative force behind Fun Money Mom, a popular blog she’s run since 2014. She’s the author of the children’s cookbook Roll It, Slice It, Mash It, Dice It, designed to get kids excited about cooking. With multiple TV appearances under her belt, she loves sharing her expertise on family-friendly recipes, creative DIYs, and party planning and is always on a mission to inspire and entertain!


I wanted to thank you for sharing your SpongeBob Valentines box idea and patterns. I wasn’t able to print out the template due to not having enough printer ink, so i cut everything out by sight. I think it turned out really good. Instead of making an opening in the back, I just left the top open and it worked really well.
I’m so glad it worked out! I hope your little one had fun with it! 🙂
Can you make a scooby doo and Patrick the star Valentine’s box
Thanks so much for the suggestions…those are great ones. It’s a little late for this year but I’ll add them to my idea list for next year 🙂
What size box did you use for the minion Valentine’s box?
Most of my valentine boxes are made from 12 oz cereal boxes 🙂