Golden Snitch Pumpkin
This post may contain affiliate links. As an Amazon Associate, I earn from qualifying purchases.

This Golden Snitch Pumpkin is an easy no-carve craft that brings a little wizarding magic to Halloween. Fun, budget-friendly, and perfect for Harry Potter fans of all ages, it’s a simple project that adds a magical touch to your fall decor.

Golden Snitch Pumpkin
Ever since my girls and I started making Harry Potter crafts, this Golden Snitch Pumpkin has been one of my favorites. It’s such a fun no-carve idea, and the best part is that it doesn’t take a lot of time or fancy supplies to pull together. It all starts with an inexpensive foam pumpkin that I get from Dollar Tree…add some hot glue, paint and wings and you’re good to go!
Of course, once you’ve made your Snitch, you’ll probably want even more Harry Potter fun. You can make this Harry Potter Pumpkin, whip up a frothy Butterbeer recipe, or dive into my Harry Potter Party Ideas for even more magical inspiration. It all comes together perfectly for a themed party or just a fun family craft night at home.
Want more Harry Potter fun? Check out all my Harry Potter recipes, including these colorful acid pops and mouthwatering butterbeer cookies!

Why We Love This Craft
- Budget-friendly – You only need a pumpkin, some paint, and a little creativity—no pricey supplies required.
- Great For All Ages – Kids, teens, and adults can all get in on the fun, making it a perfect family activity.
- Fun For Harry Potter Fans – This is such a magical way to celebrate Halloween while showing off your love for the wizarding world.
What You’ll Need
Supplies:
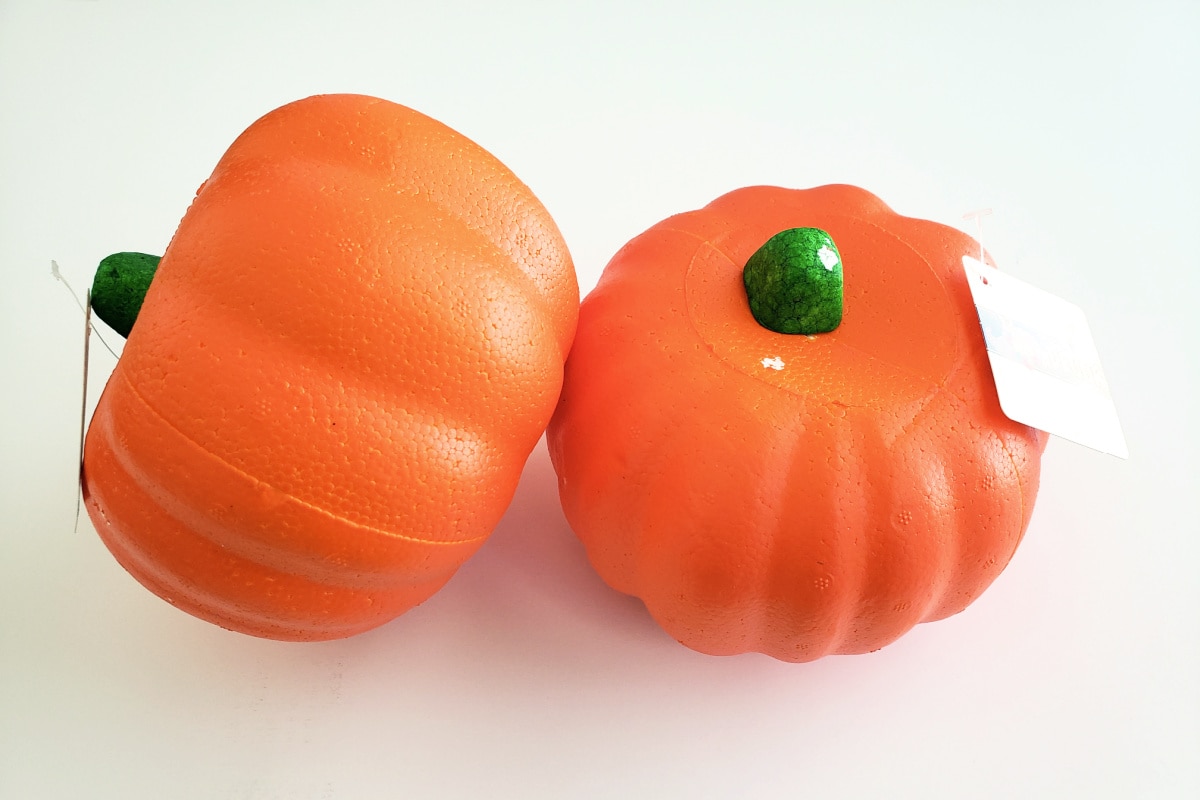
- Foam craft pumpkin (I use the styrofoam ones from the dollar stores)
- Gold spray paint or acrylic craft paint
- Gold glitter cardstock or gold craft foam
- Printable wing template
Tools:
- Glue gun with glue sticks
- Regular glue stick (optional)
- Scissors
- Paper & pencil
Note: You can find Amazon links to all the supplies in the instruction card below.

Tips & Tricks
- If making this with older kids, spray paint works great. I recommend acrylic craft paint if making this with younger kids.
- If using gold craft foam, you may need to add chenille to the back to help keep the wings upright. It will depend on how sturdy your craft foam is (some are sturdier than others).
- If you want a little extra sparkle, dust the wet paint with fine gold glitter or seal with a glittery topcoat spray.
- These are best used as indoor decor but if you’re displaying it outside, I suggest using a sealant spray to help keep the paint and glitter from flaking.
Want even more Halloween fun? Scroll to the end to see all 35+ of my cute Halloween Pumpkin Ideas!

Golden Snitch Pumpkin
Equipment
- Mini hot glue sticks if using a mini glue gun
Materials
- gold spray paint or gold acrylic craft paint
- foam craft pumpkin
- gold glitter card stock or gold craft foam
- wing template
Instructions
For The Pumpkin
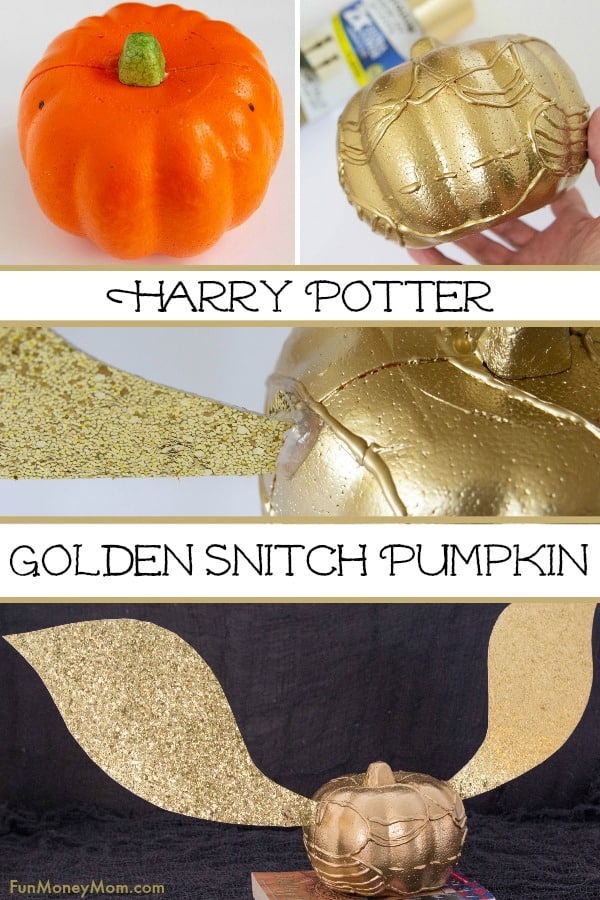
- Start by making two black dots to mark where the wings would go. This would help me keep the hot glue symmetrical.

- Use a glue gun to make lines similar to the ones you'd find on a golden snitch (you can google images of golden snitches for inspiration if you need to).
- Next, paint the pumpkin gold. I used spray paint for this pumpkin but you can also use gold acrylic paint. You will probably need two coats.


For The Wings
- While you wait for the paint to dry, make the wings. You'll need a couple pieces of 8×12" glitter card stock and the wing template (link in the list of supplies above).
- Cut out the template and use it to trace the wings on the back of the card stock. Trace two with one side of the template, then flip it over and trace two more. Important: Be sure to flip the template after the first two or the wings won't match up when you glue them back to back.
- Cut the wings out and glue them back to back to make two wings that are gold on both sides. You can give them a little trim if they don't match up exactly.


Assembling The Pumpkin
- To glue the wings to the pumpkin, cut off the pointy tip and bend the wings at the end. You may need to use hot glue inside the crease to get it to stay folded, depending on how stiff your cardstock is.
- Glue the wings to each side of the pumpkin. Once the glue dries, take some of the gold paint and paint over it. If using spray paint, spray some into a disposable cup or onto a paper plate and then use that to paint over the glue. Let dry and your golden snitch pumpkin is ready to display.


Notes
- If making this with older kids, spray paint works great. I recommend acrylic craft paint if making this with younger kids.
- If using gold craft foam, you may need to add chenille to the back to help keep the wings upright. It will depend on how sturdy your craft foam is (some are sturdier than others).
- If you want a little extra sparkle, dust the wet paint with fine gold glitter or seal with a glittery topcoat spray.
- These are best used as indoor decor but if you’re displaying it outside, I suggest using a sealant spray to help keep the paint and glitter from flaking.
Did You Make This Project?
Share it with me on Instagram @funmoneymom and follow on Pinterest @funmoneymom for more!
More Fun Painted Pumpkins
Want more easy pumpkin painting ideas? Get all the tutorials here:
- Grinch Pumpkin
- Witch Pumpkin
- Minion Pumpkin
- Gnome Pumpkin
- Pikachu Pumpkin
- Mike Wazowski Pumpkin
- Sully Pumpkin
- Taylor Swift Pumpkin
- Shark Pumpkin
- Baby Yoda Pumpkin
- Vampire Pumpkin
- Harry Potter Pumpkin
- Golden Snitch Pumpkin
- Pumpkin Diorama
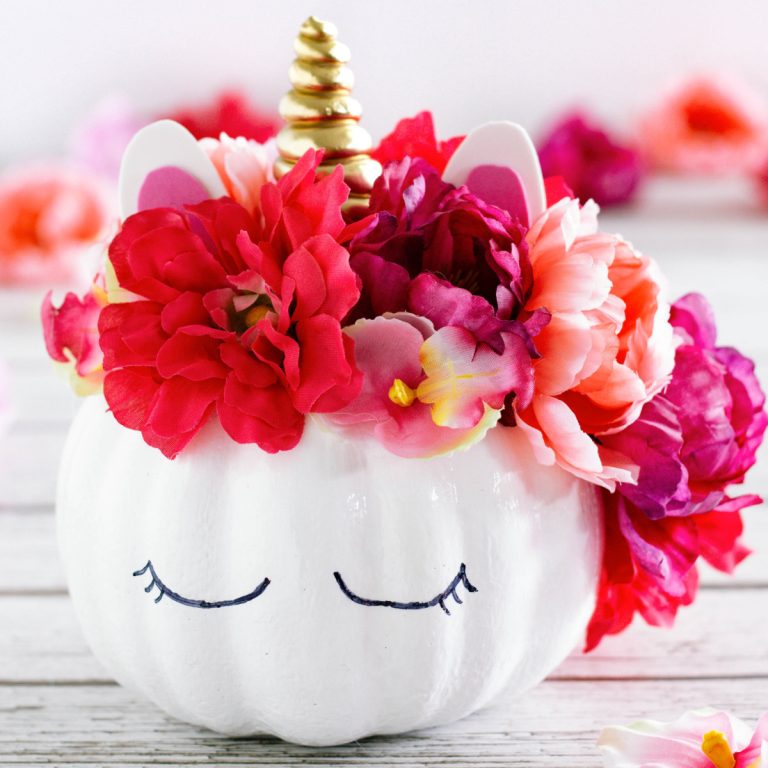
- Unicorn Pumpkin
- Jack Skellington Pumpkin
- Sally Skellington Pumpkin
- Hello Kitty Pumpkin
- Frankenstein Pumpkin
- Mummy Pumpkin
- Black Cat Pumpkin
- Emoji Pumpkins
- Bat Pumpkin
- Spider Pumpkin
- Melted Crayon Pumpkin
- Cinderella Inspired Pumpkin
- Teal Pumpkin
- Butterfly Pumpkin
- Bumblebee Pumpkin
- Metallic Polka Dot Pumpkin
- Caramel Apple Pumpkin
- Spiderweb Pumpkin
- Glitter Pumpkin
- Dollar Tree Pumpkin
- Minnie Mouse Pumpkin
- Mickey Mouse Pumpkin
- Spiderman Pumpkin
Let’s be friends!
Did you love this post? Make sure to comment below and let me know your thoughts! And don’t forget to follow on your favorite social network below!

About Lisa O’Driscoll
Lisa O’Driscoll is a lifestyle and parenting expert, cookbook author, and the creative force behind Fun Money Mom, a popular blog she’s run since 2014. She’s the author of the children’s cookbook Roll It, Slice It, Mash It, Dice It, designed to get kids excited about cooking. With multiple TV appearances under her belt, she loves sharing her expertise on family-friendly recipes, creative DIYs, and party planning and is always on a mission to inspire and entertain!